Introduction
This page will help you get started with Rollee.
Overview
Get Started
Welcome to Rollee, the secure API for income and employment data.
Rollee makes it easy for your users to grant you access to their income and employment accounts.
Once one of your users grants access, your application can access his or her employment and income data.
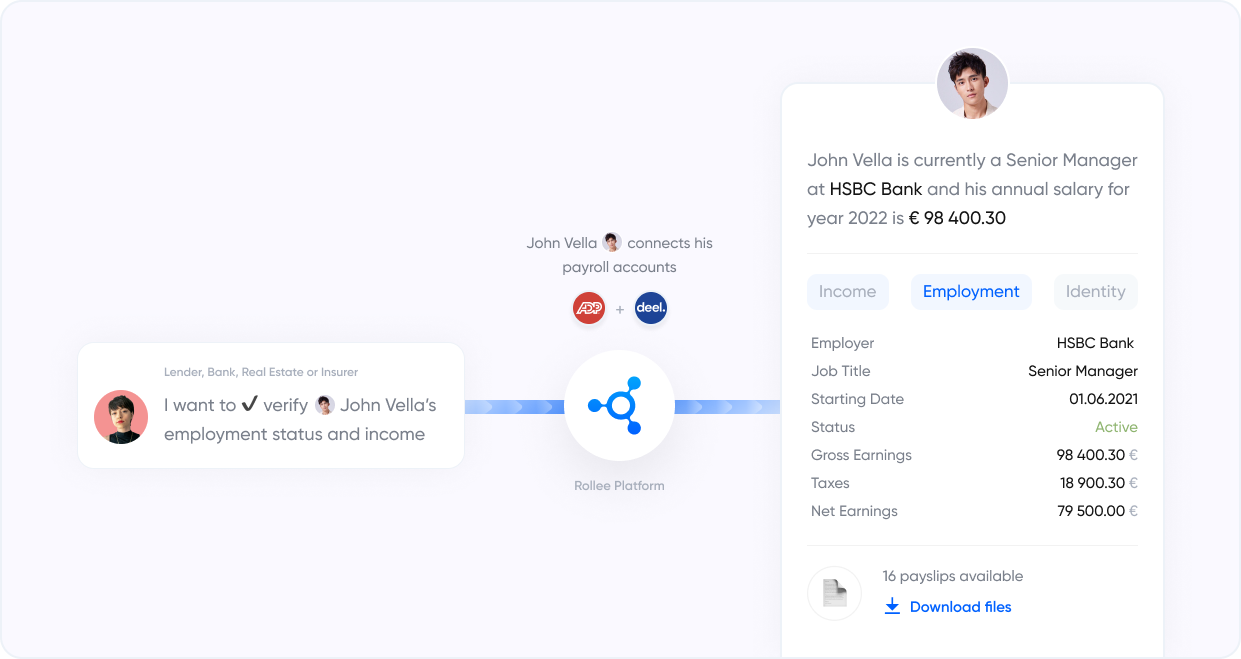
Rollee has two API available to our customers, the first is what we call User API; this API is for clients that run B2C services and which need to connect individual user accounts to provide them with your service. Get Started with the User API
The second is our Company API which serves B2B businesses and Fleet managers. This API can be used to gather data from Admin HRIS accounts. Get Started with Company API
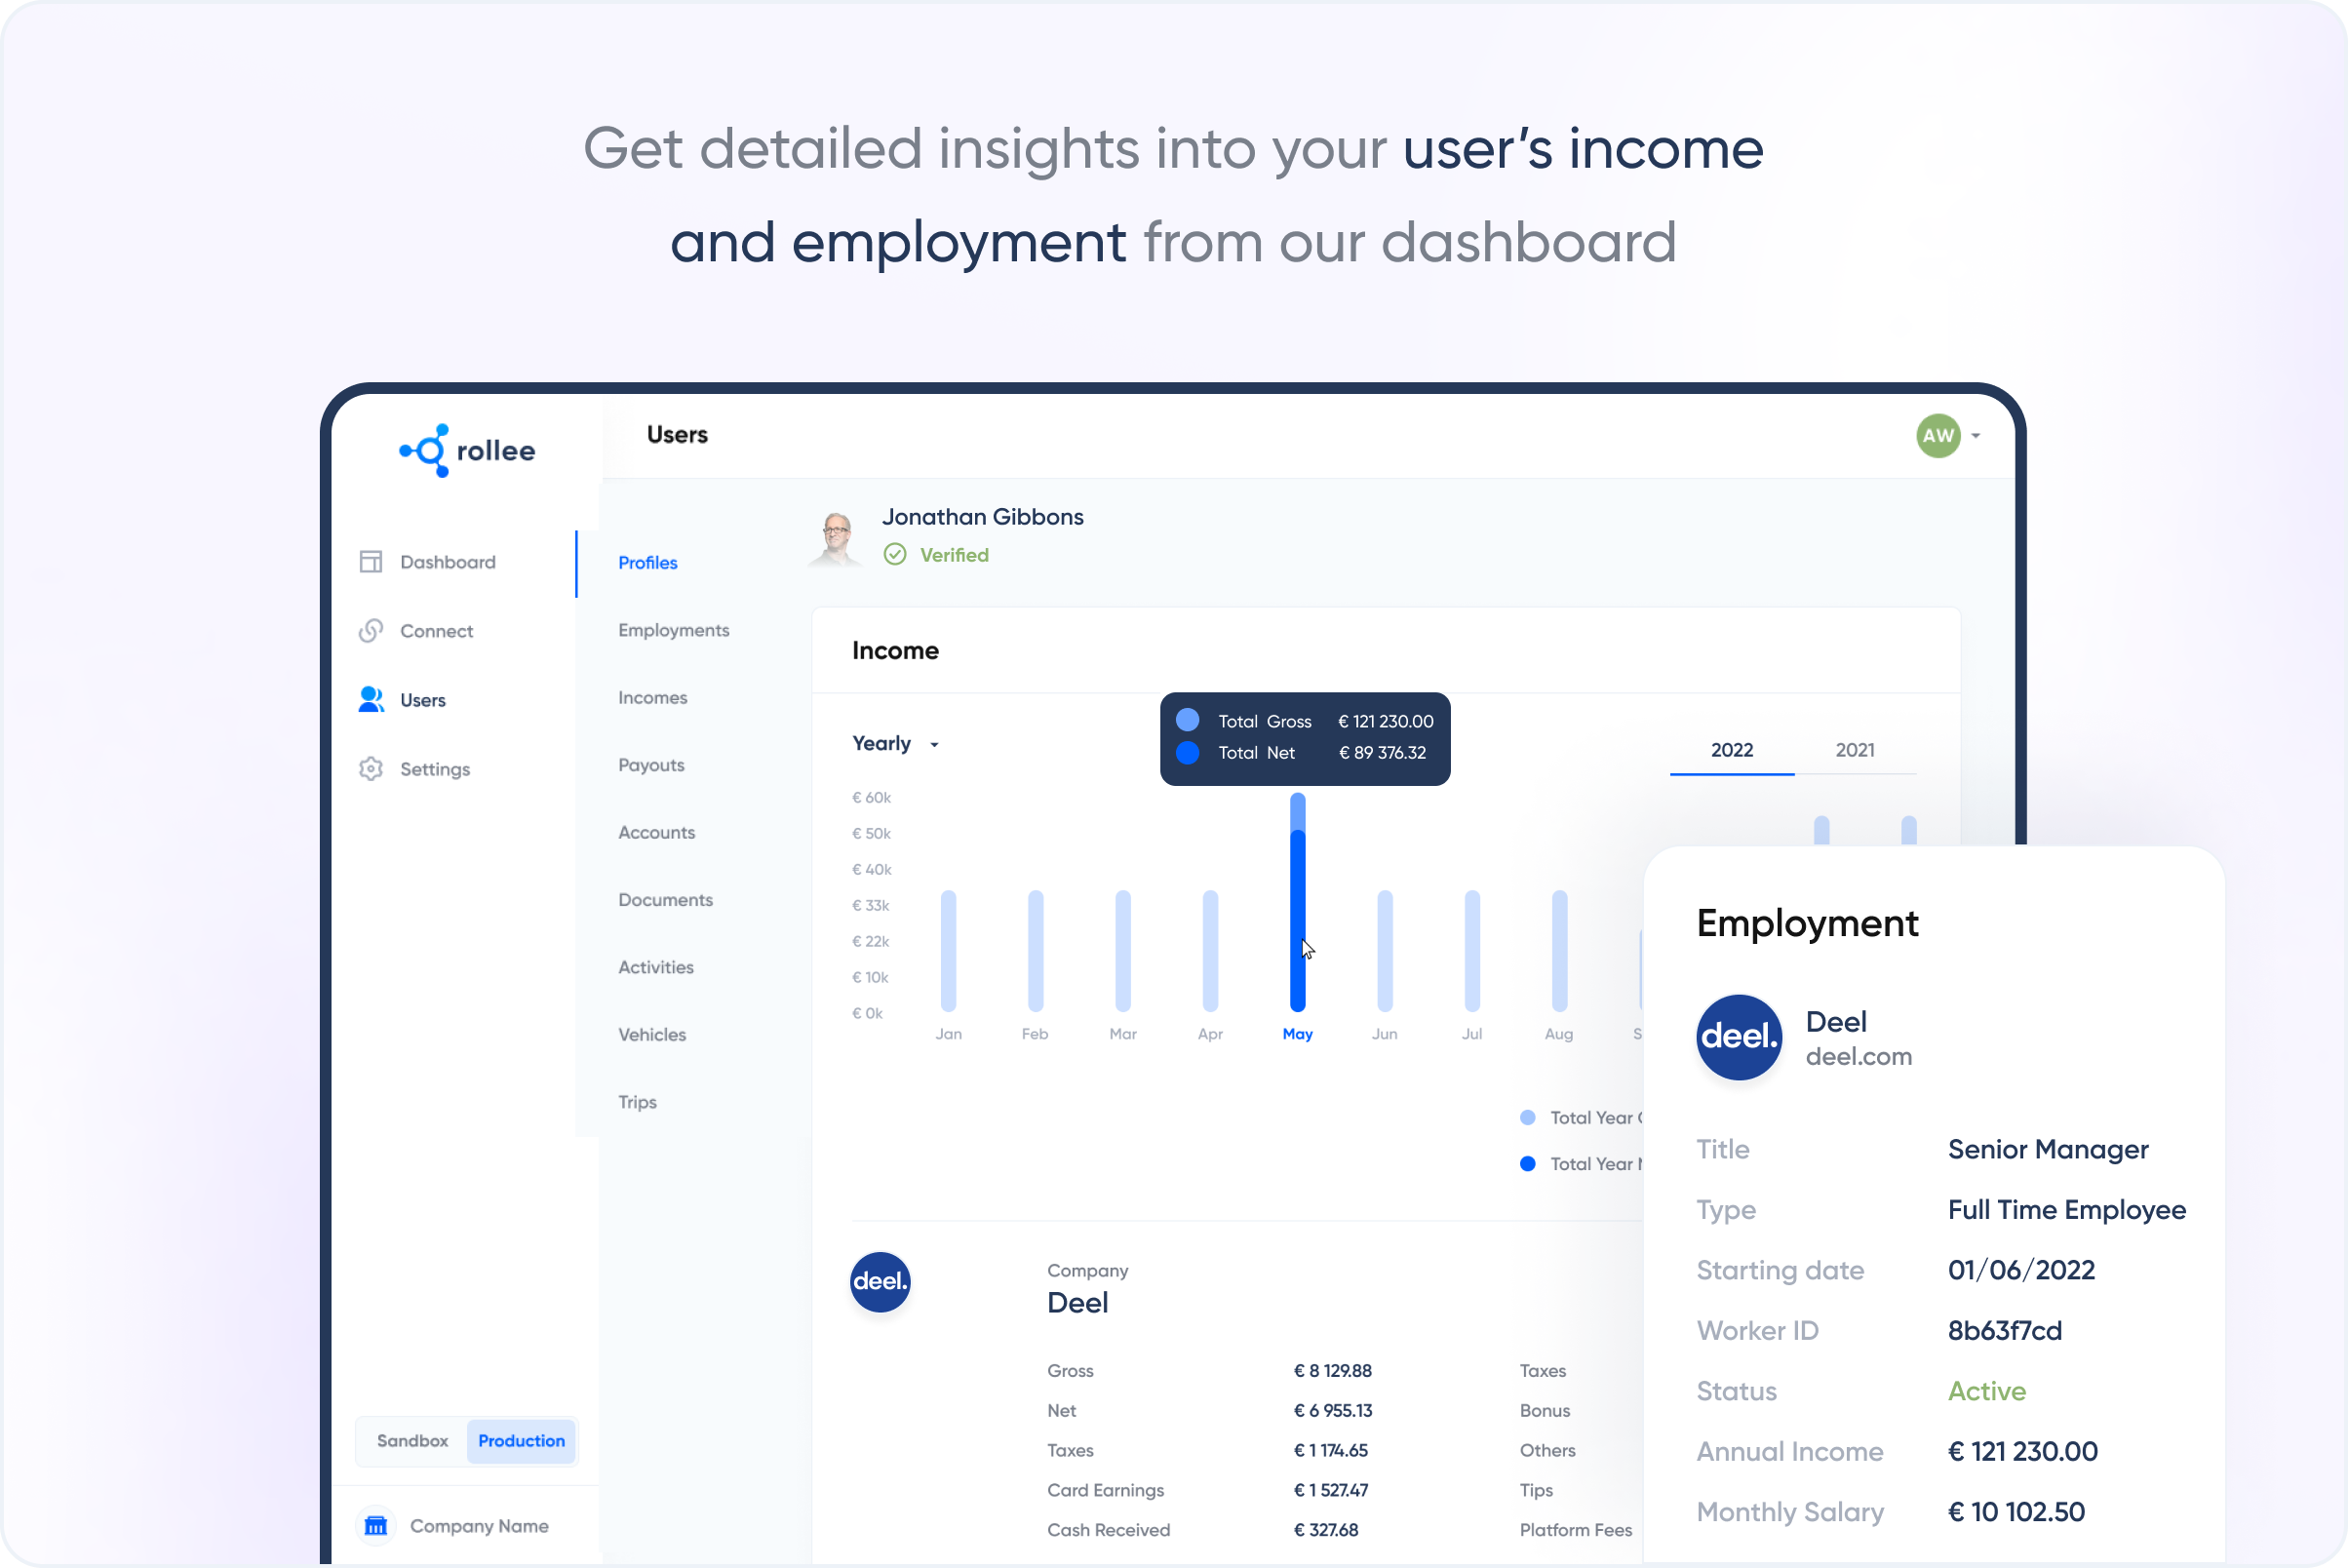
Once connections are made and consent is given via Rollee Connect, the data will be accessible in the dashboard data view and via API. Go to the API section of the documentation for more information on data retrieval.
Environments: Sandbox/ Production
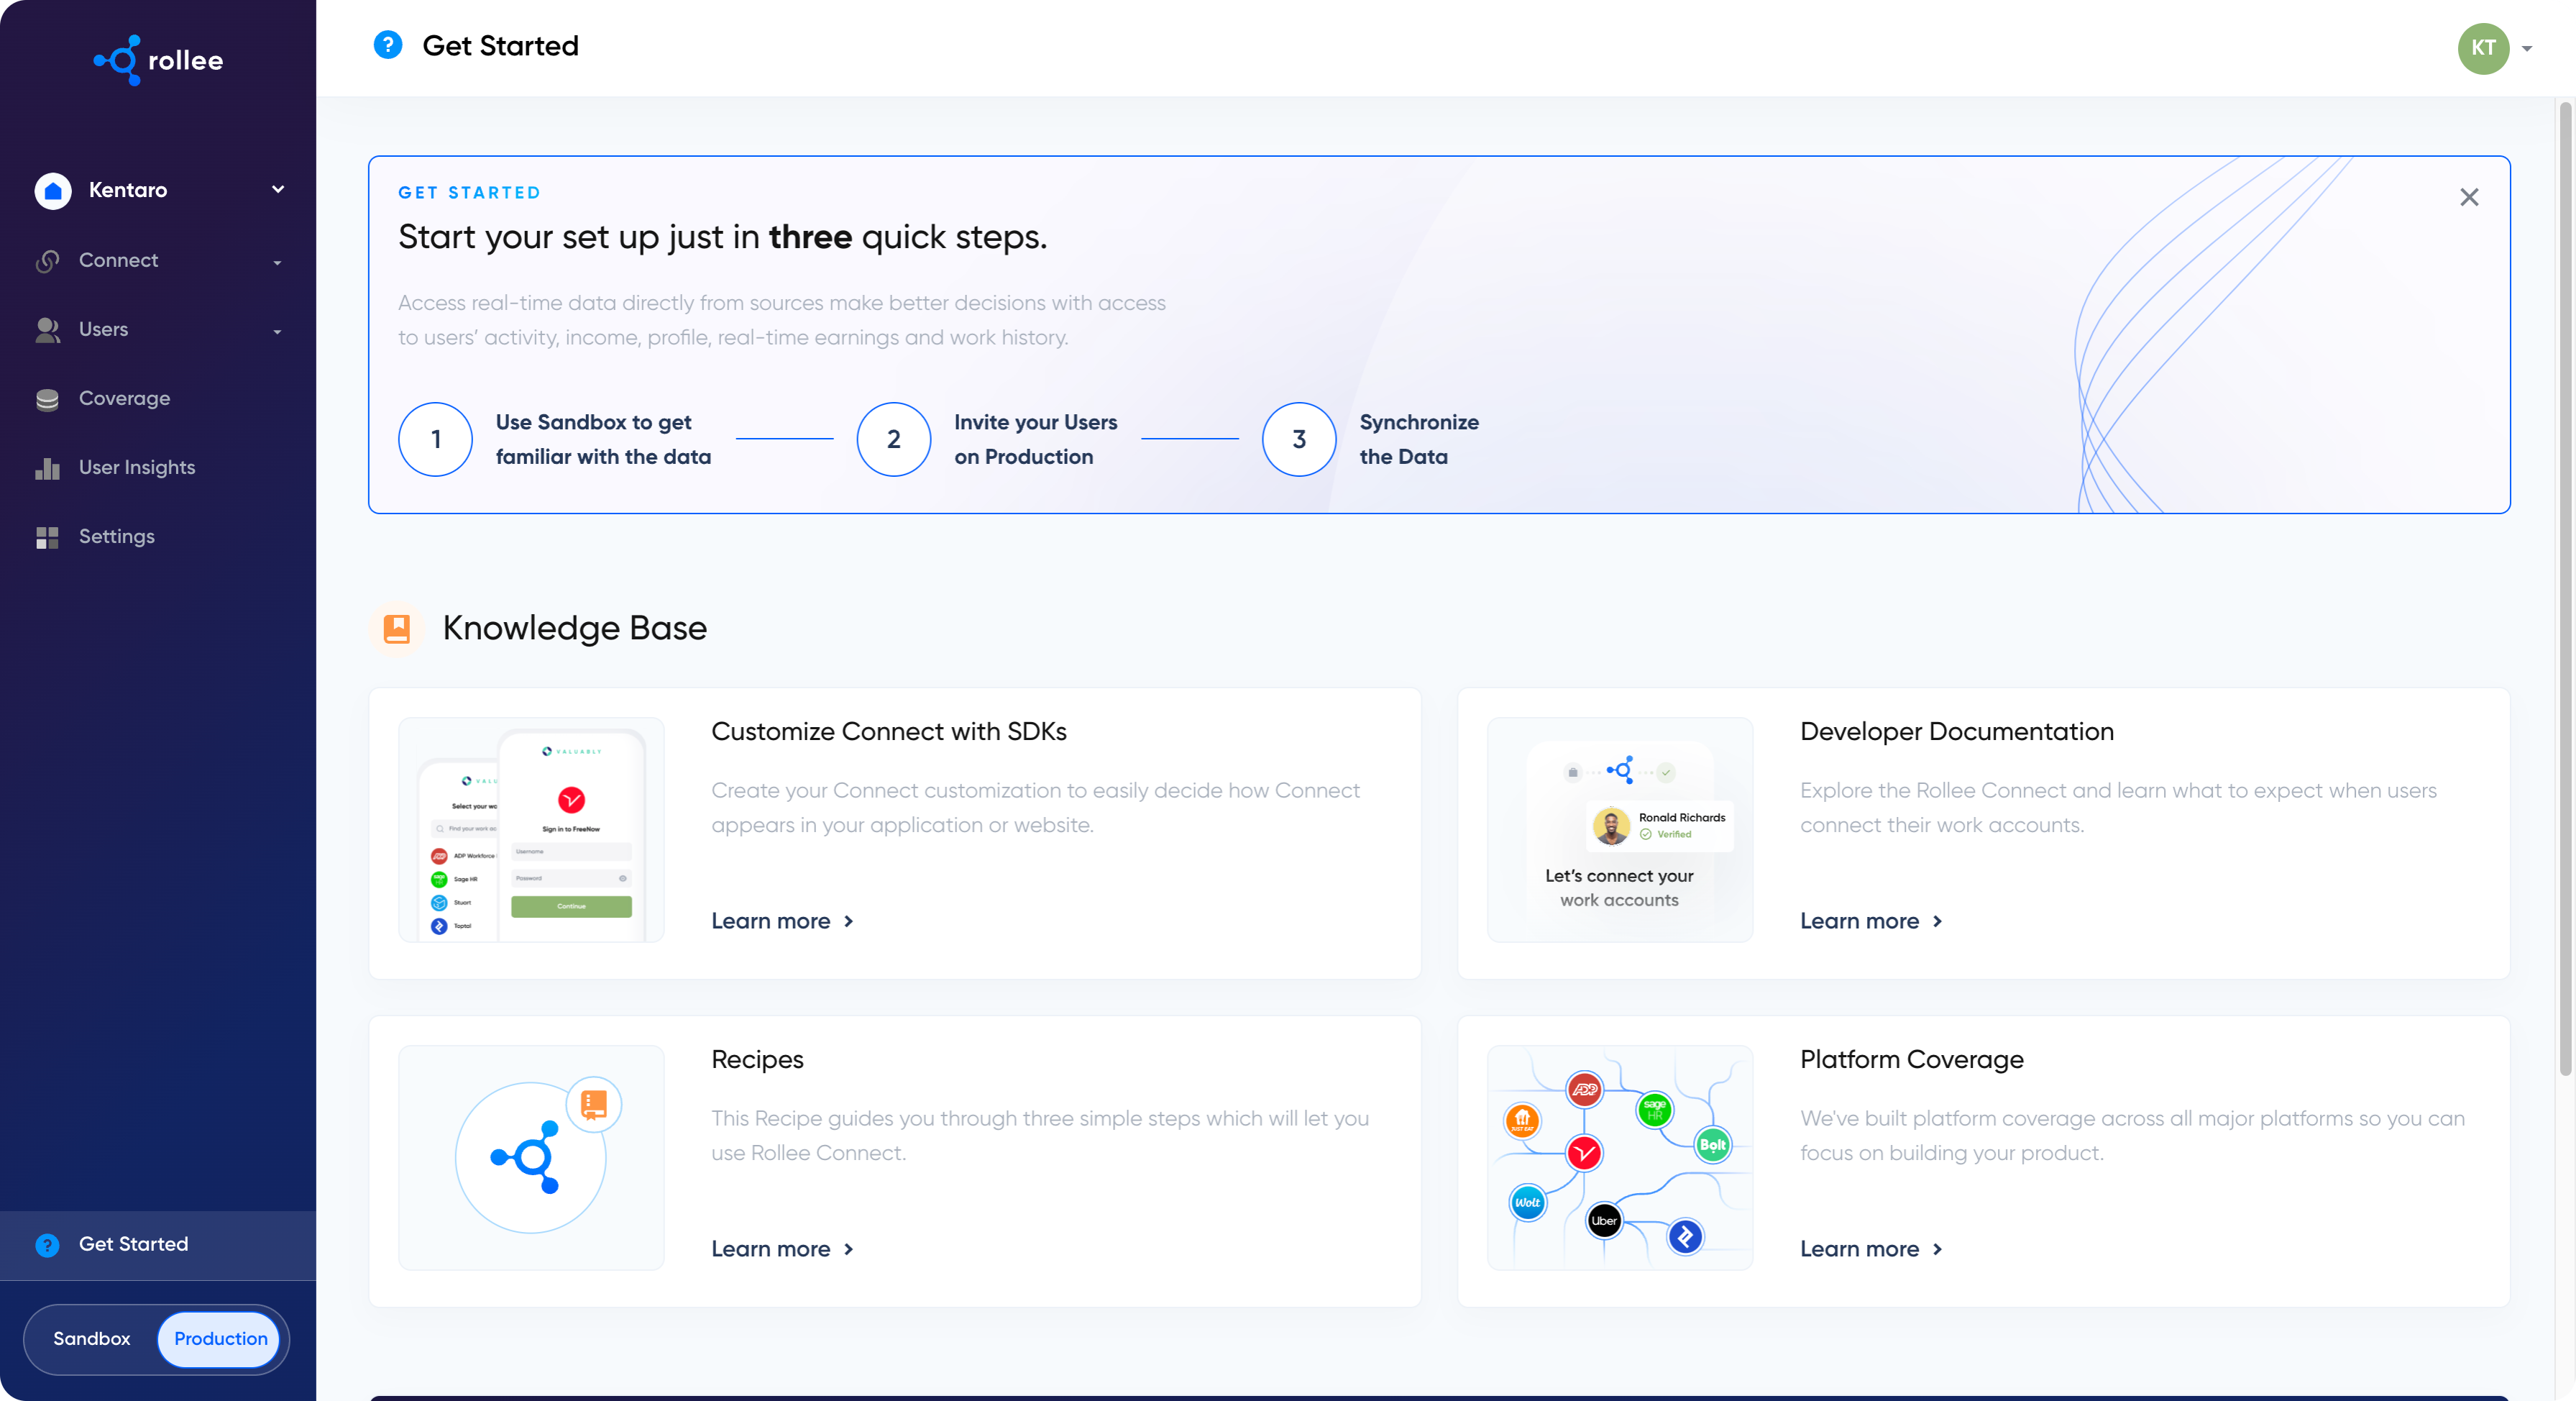
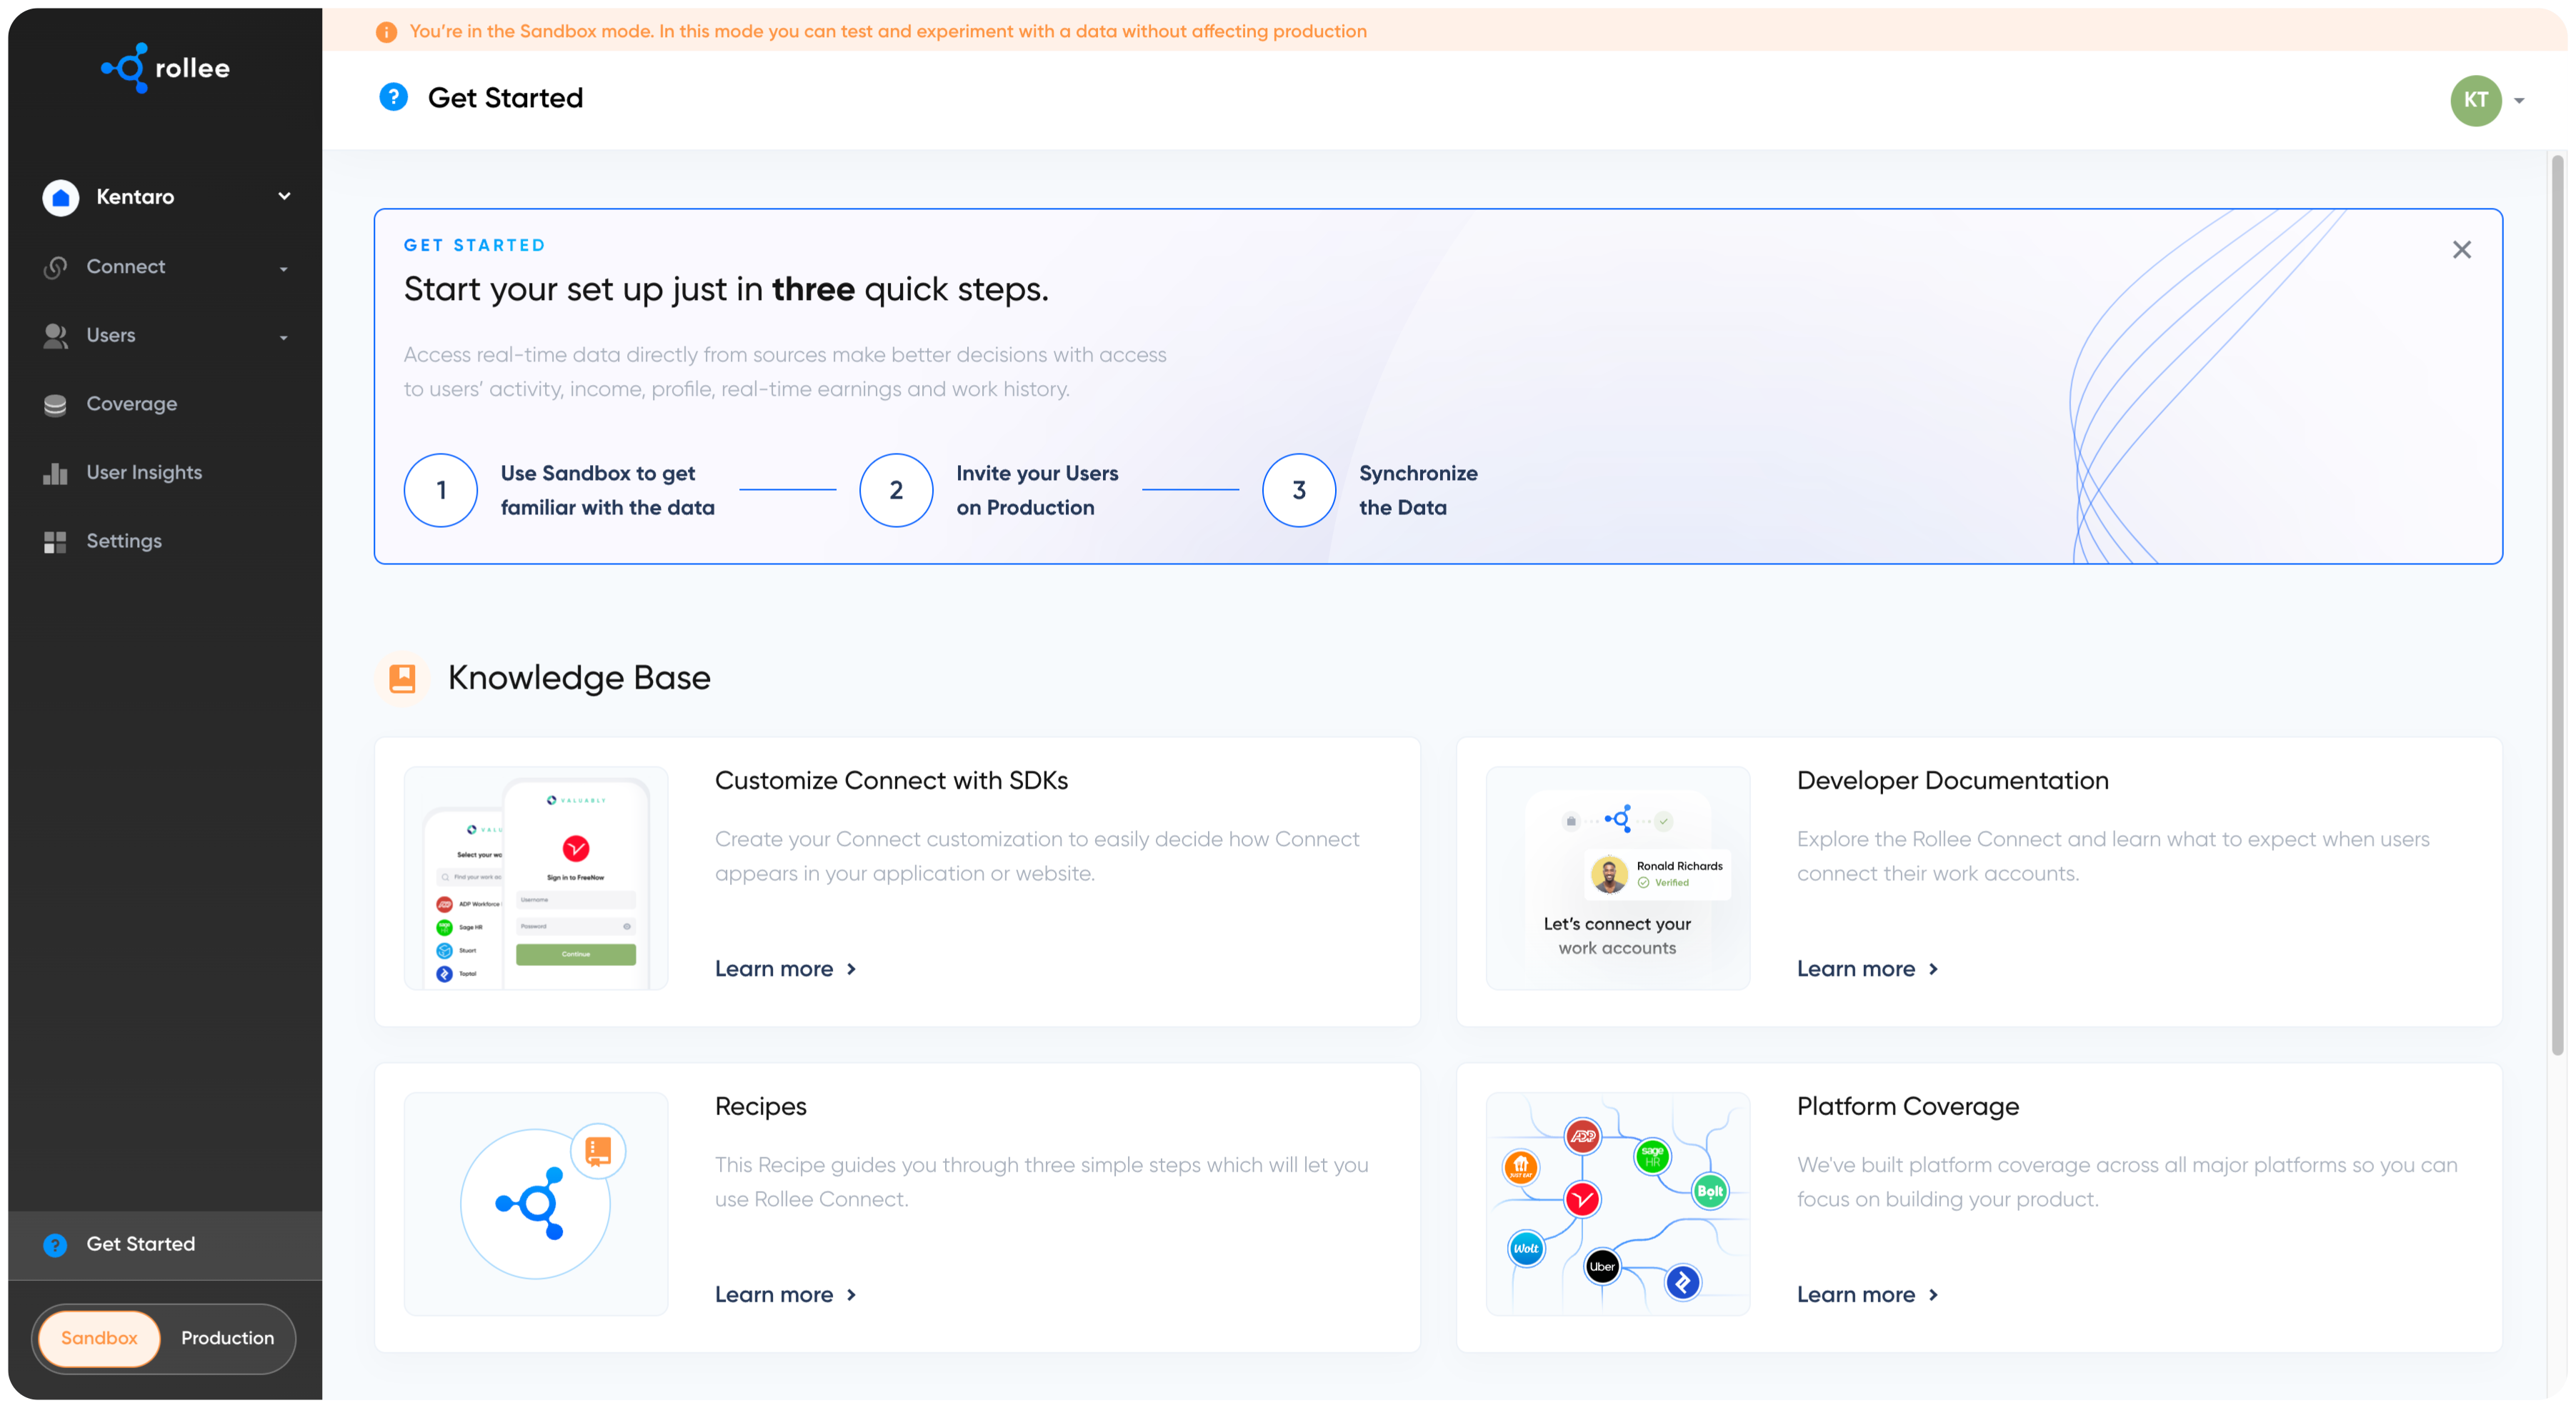
At the left bottom corner in the dashboard, you can find a toggle button to switch between sandbox and production environments.
Always make sure you're in the correct environment before performing any tasks to ensure the integrity and accuracy of your operations.
Switching to the sandbox environment allows you to test features without affecting real user data or sending data to external services. Sandbox is isolated from production and doesn’t trigger communication with third party services. This means dashboard will give you dummy data, and Rollee Connect doesn’t actually send authentication requests to services. Instead, it automatically creates a fake account. This can be particularly useful for development and testing purposes.
In the production environment, you'll be working with actual user data and live third-party services. Any changes or actions taken in this environment will have real-world consequences, so it's important to proceed with caution.
User API: Connect your Users
Set up Rollee Connect
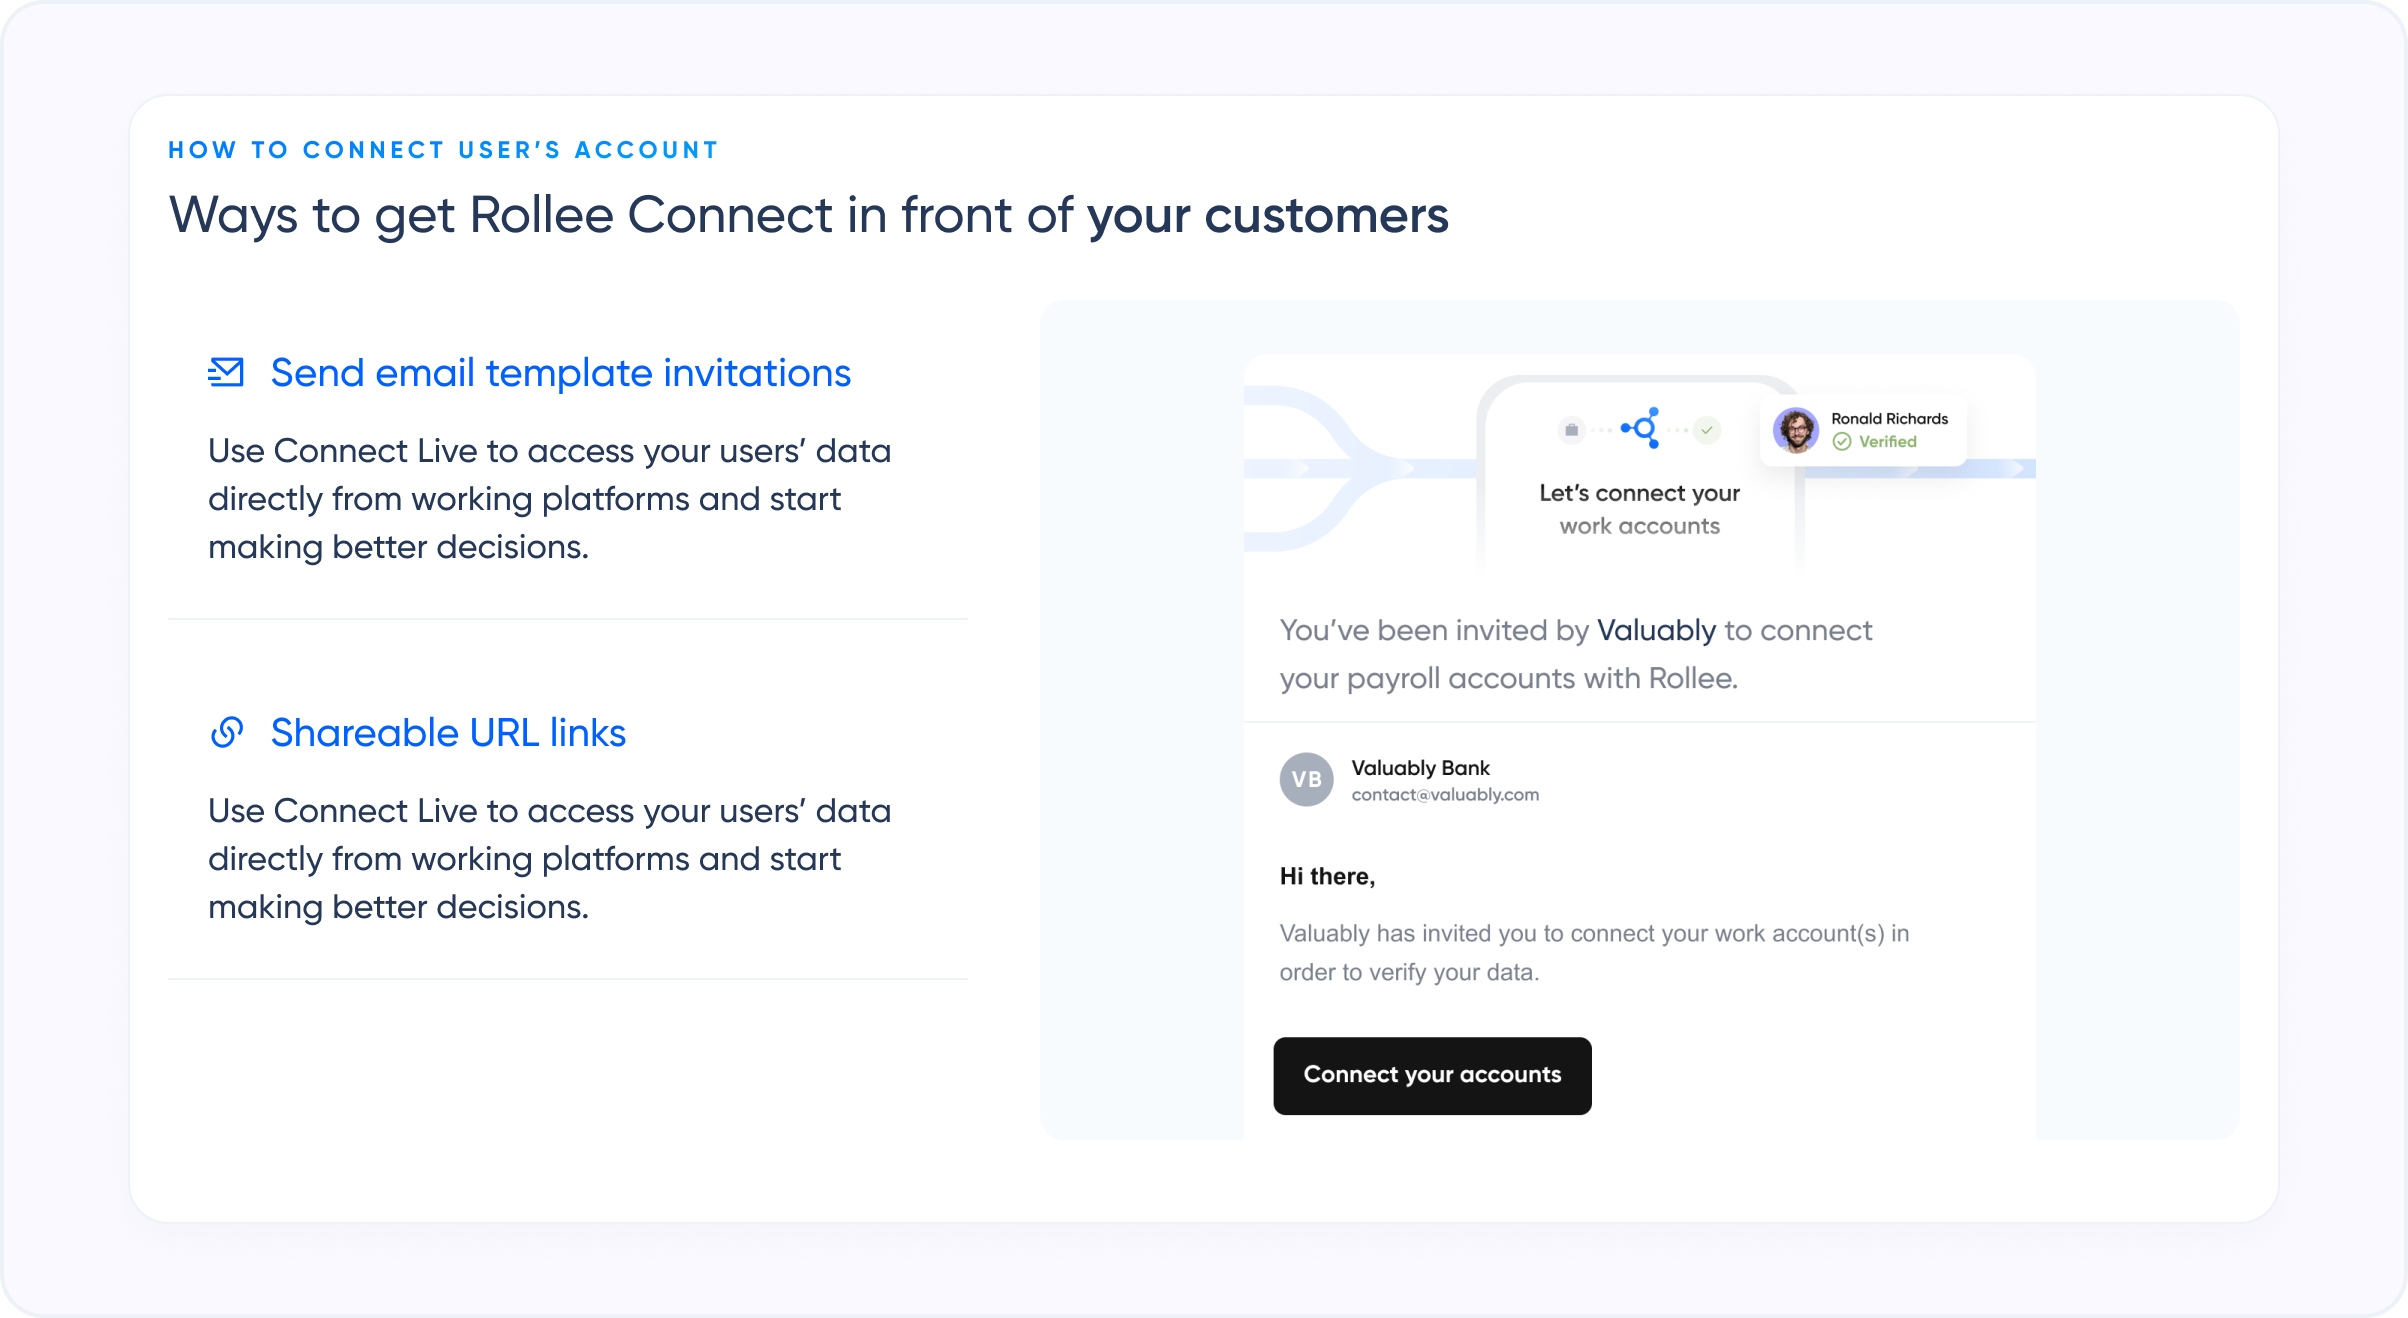
You will need to integrate Rollee Connect into your application or product flow in order for the users to share their data. You should ensure that the users have context before asking them to complete the Rollee flow for better conversion.
You can integrate via SDK or webview on mobile or desktop. For customizations, you will need to use the dashboard to create and save each customization.
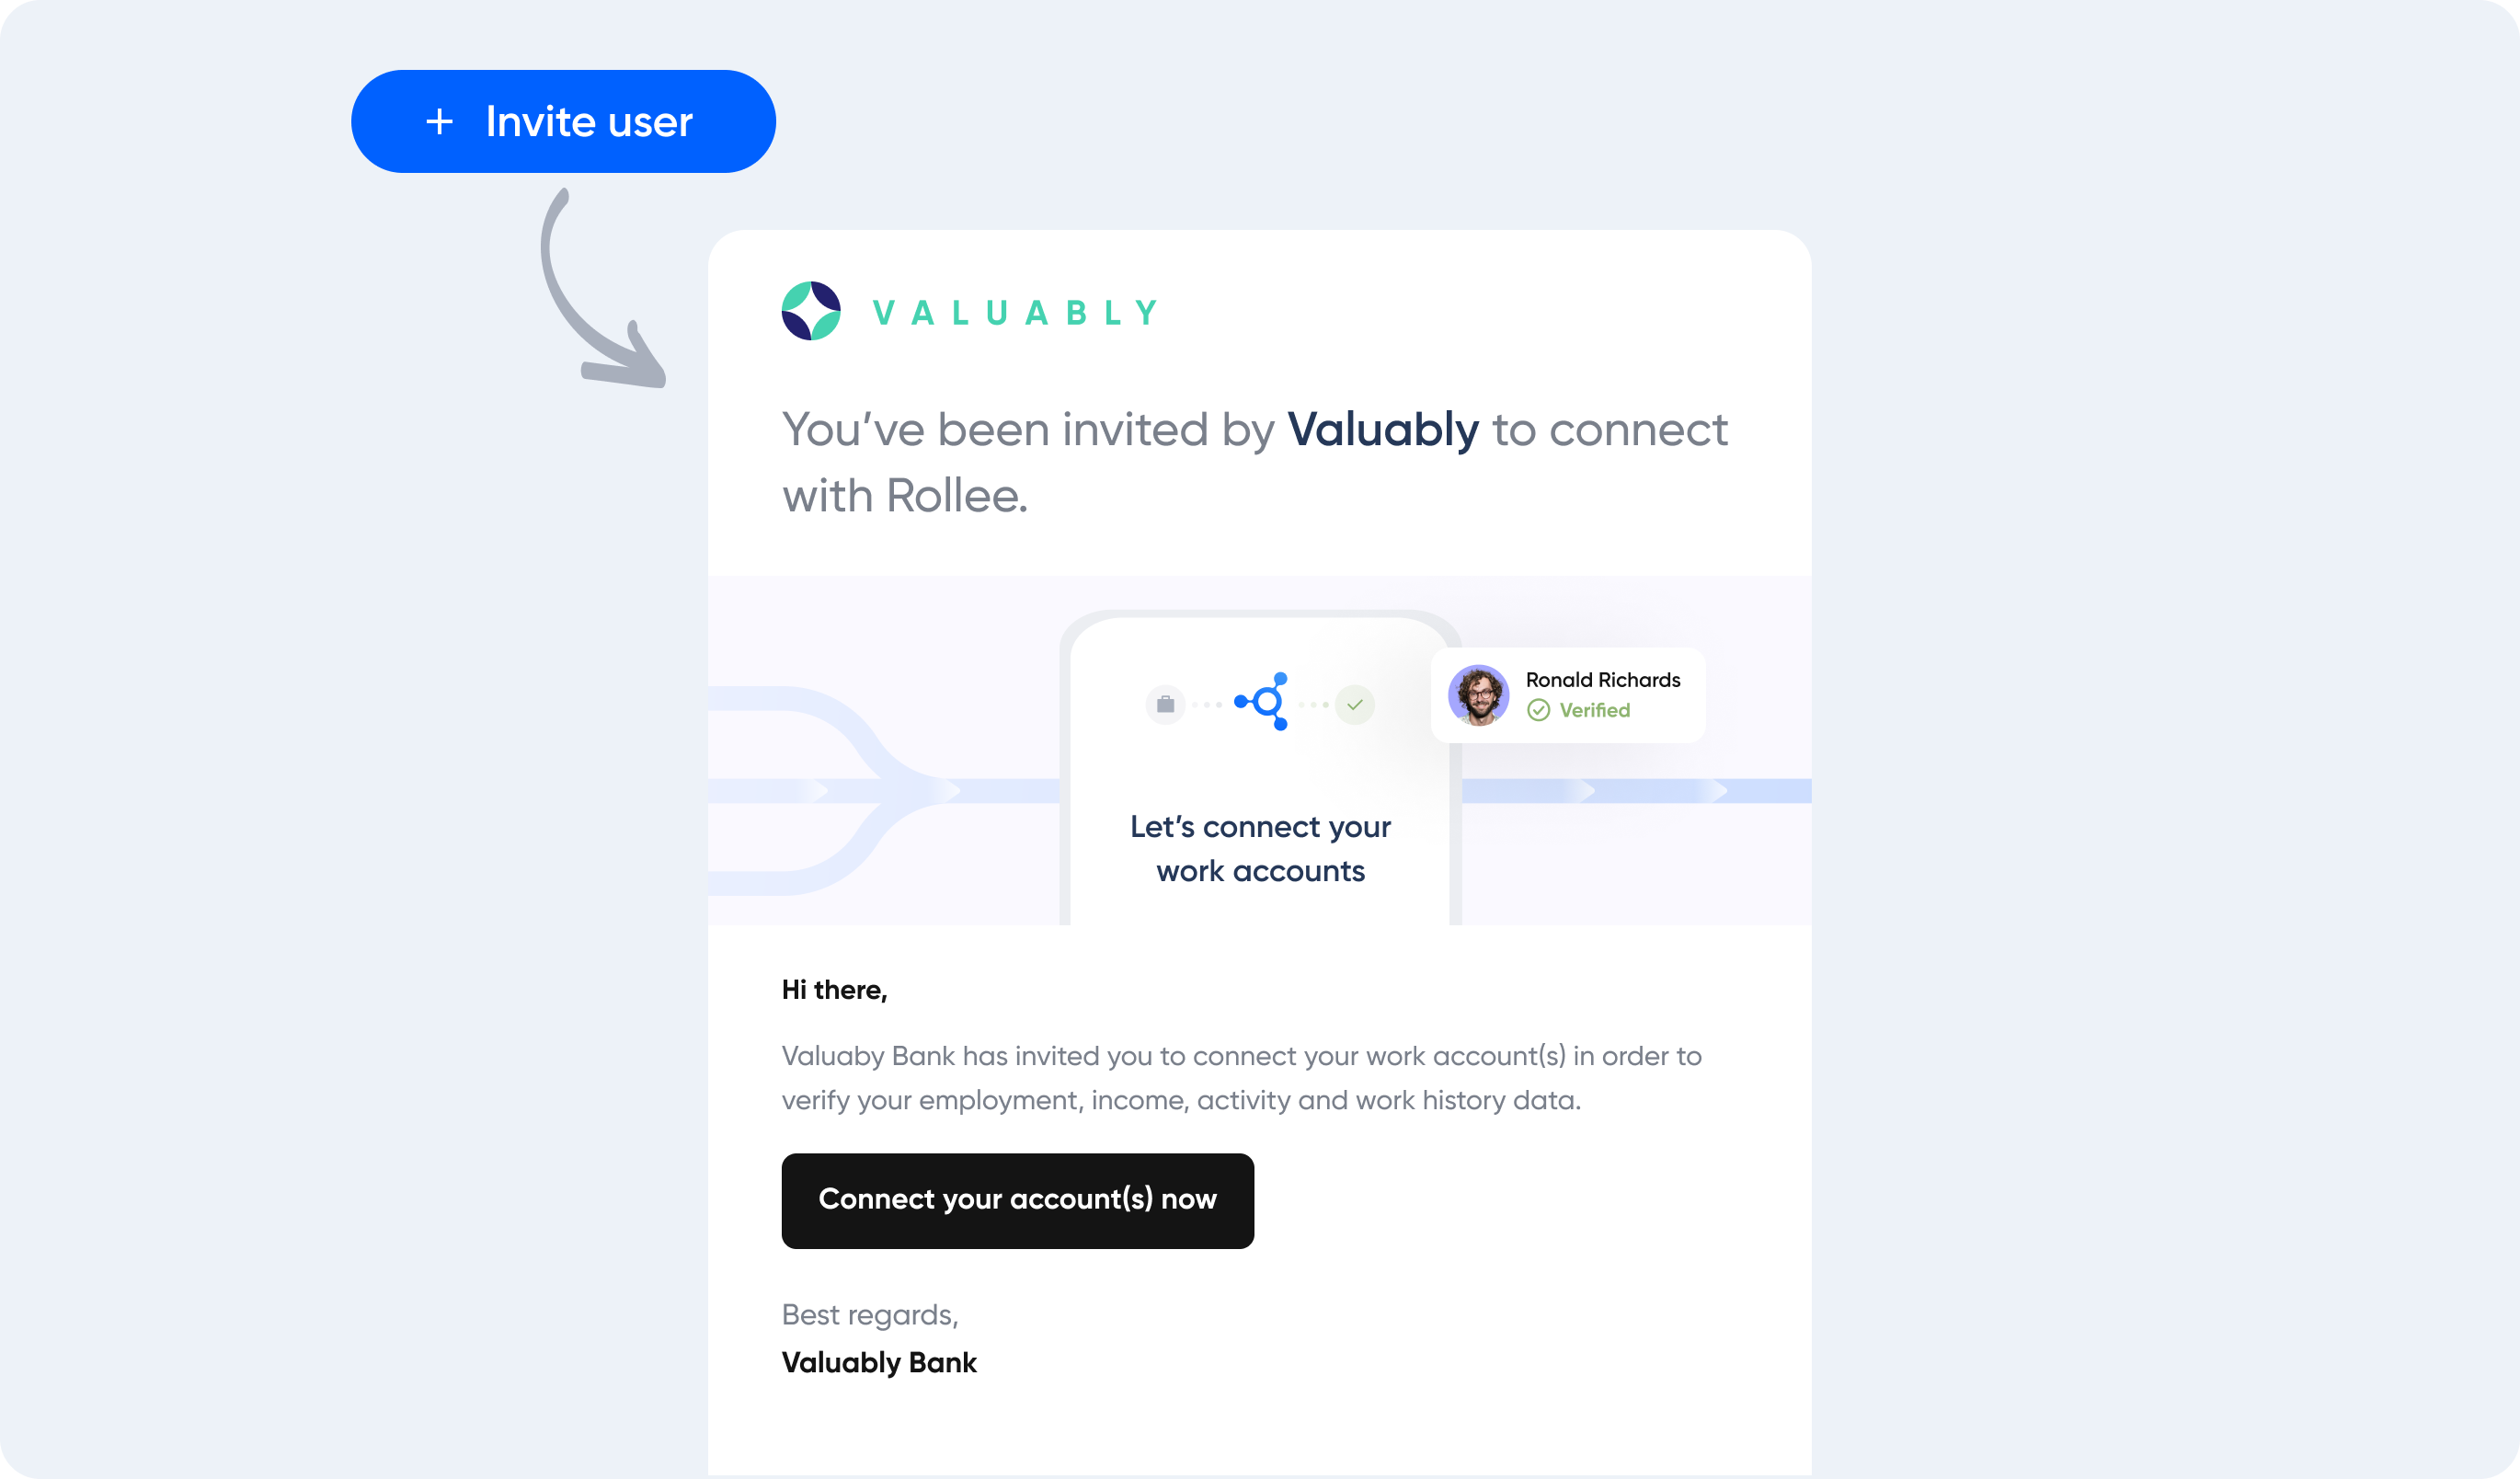
Users can be invited by email through the dashboard. Just upload a CSV file with emails and Rollee will send out a customization email. Emails can be customized in settings.
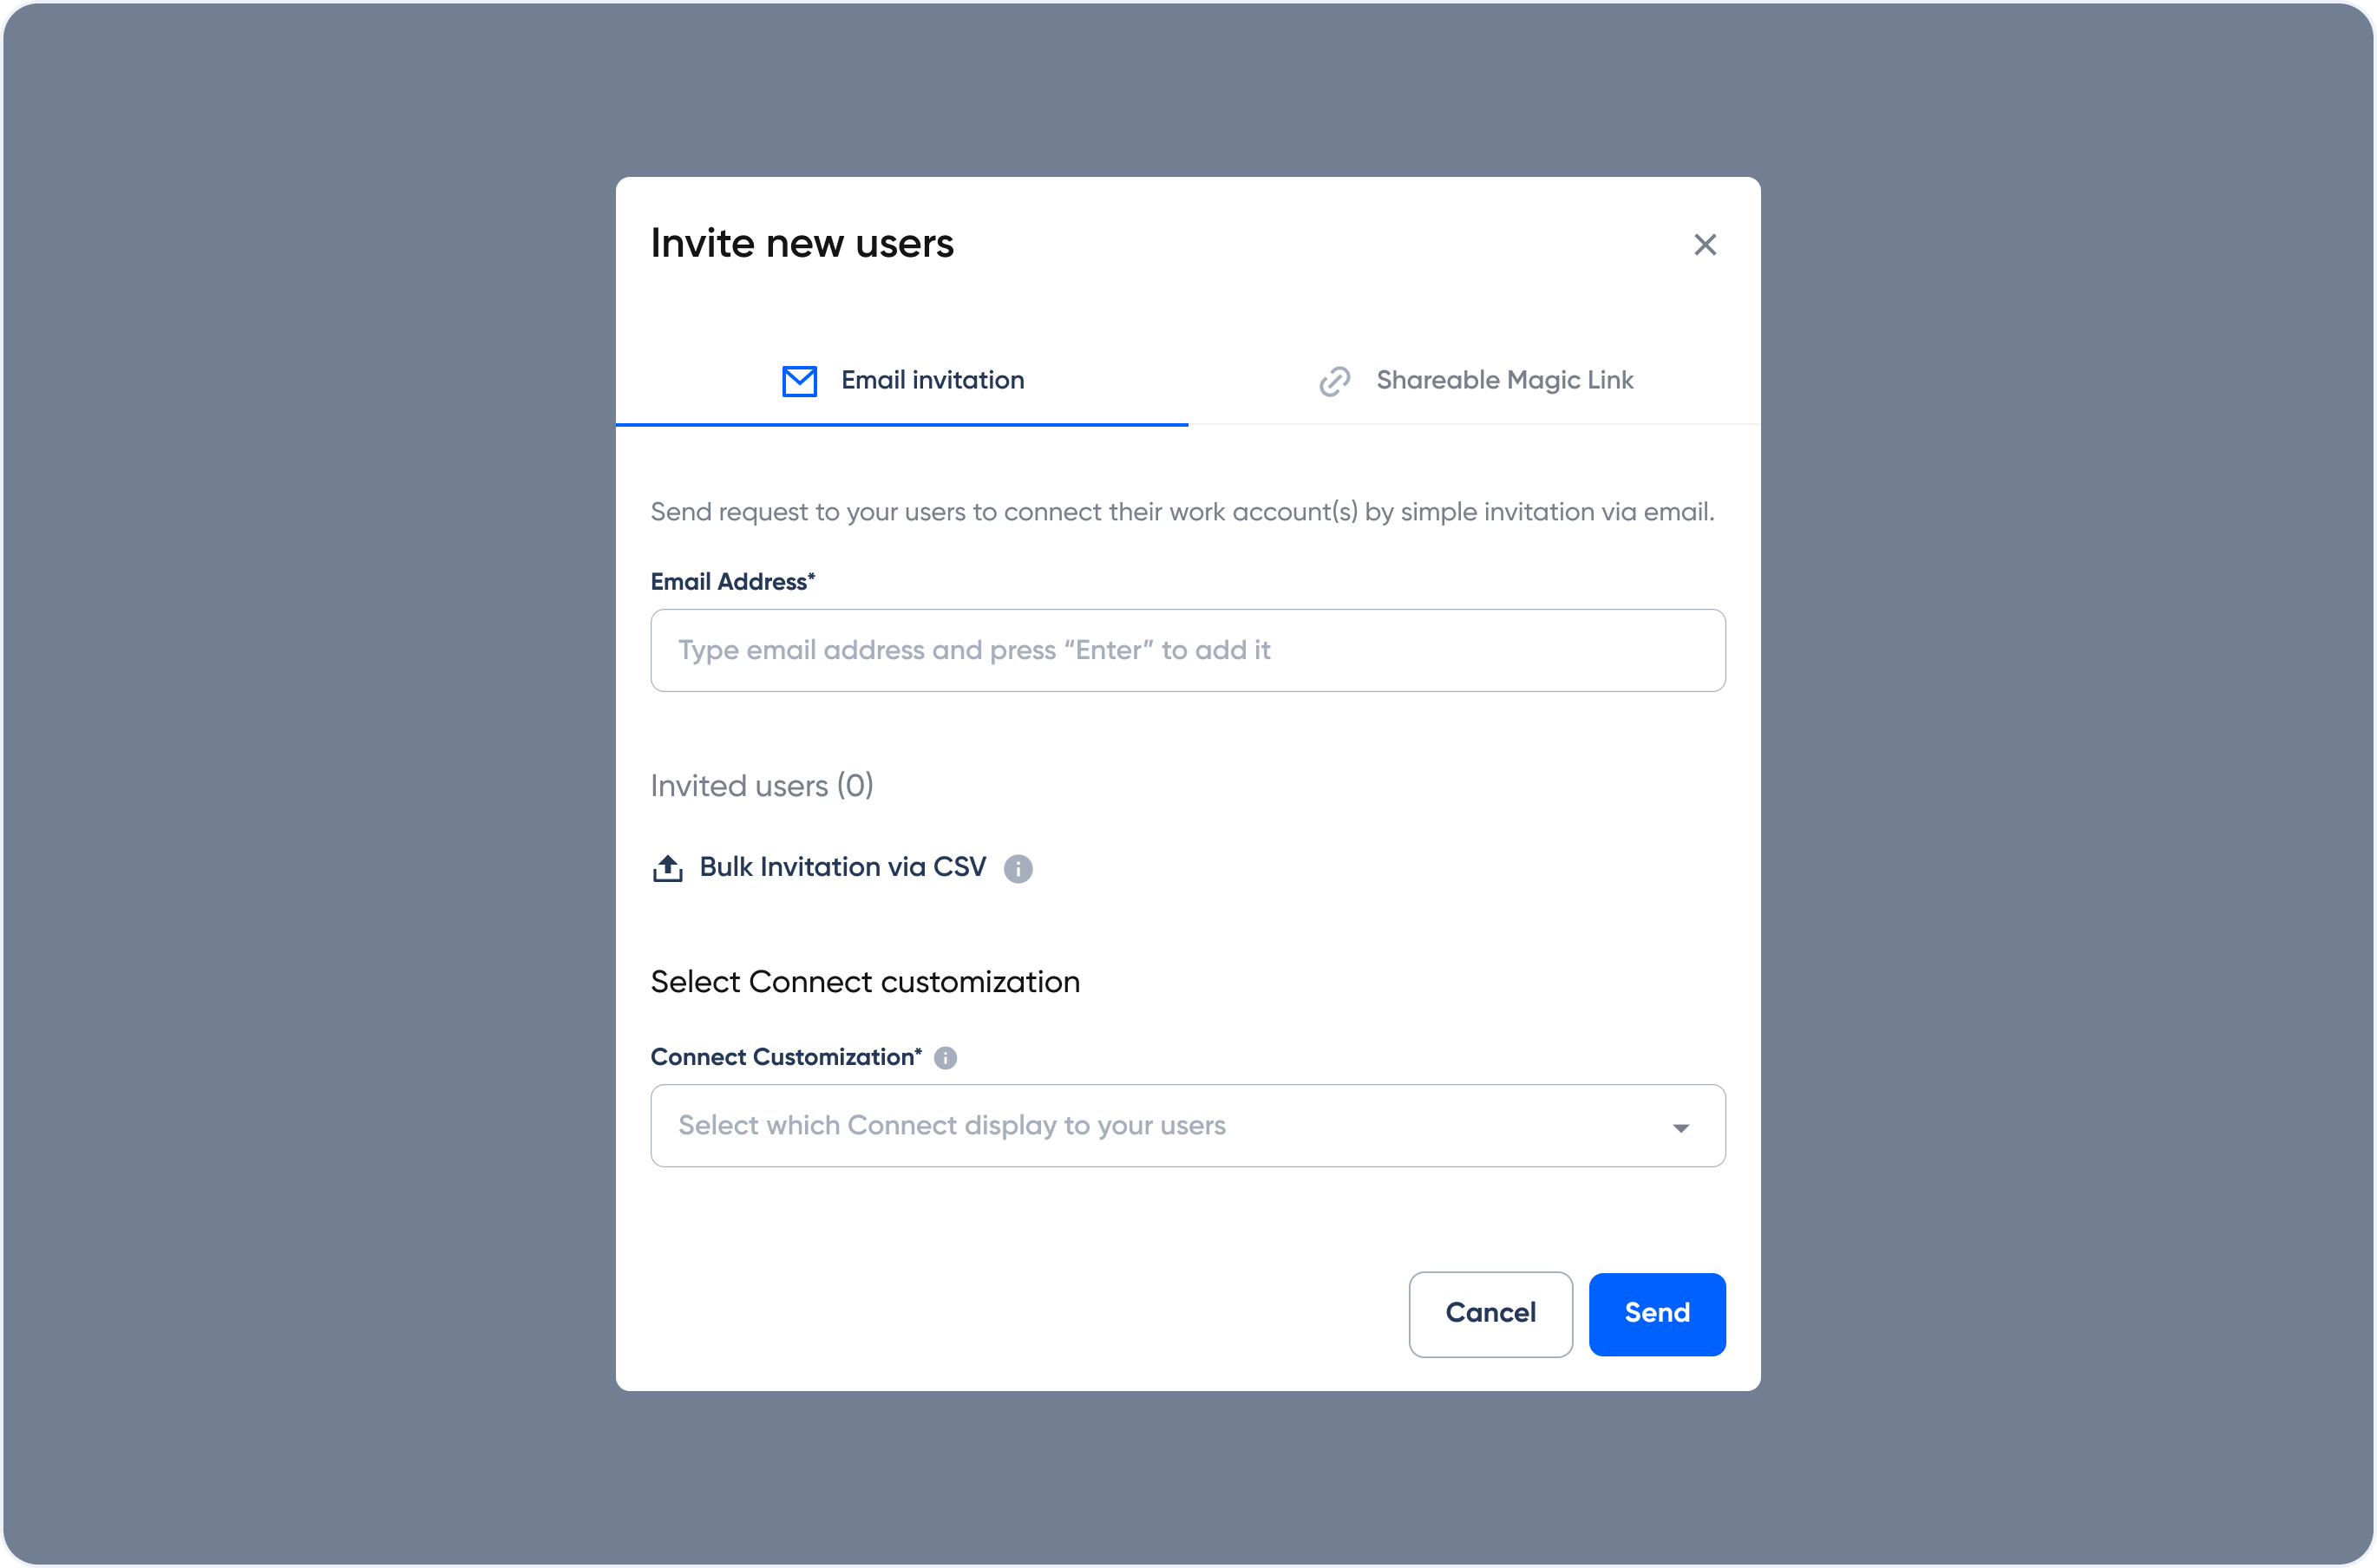
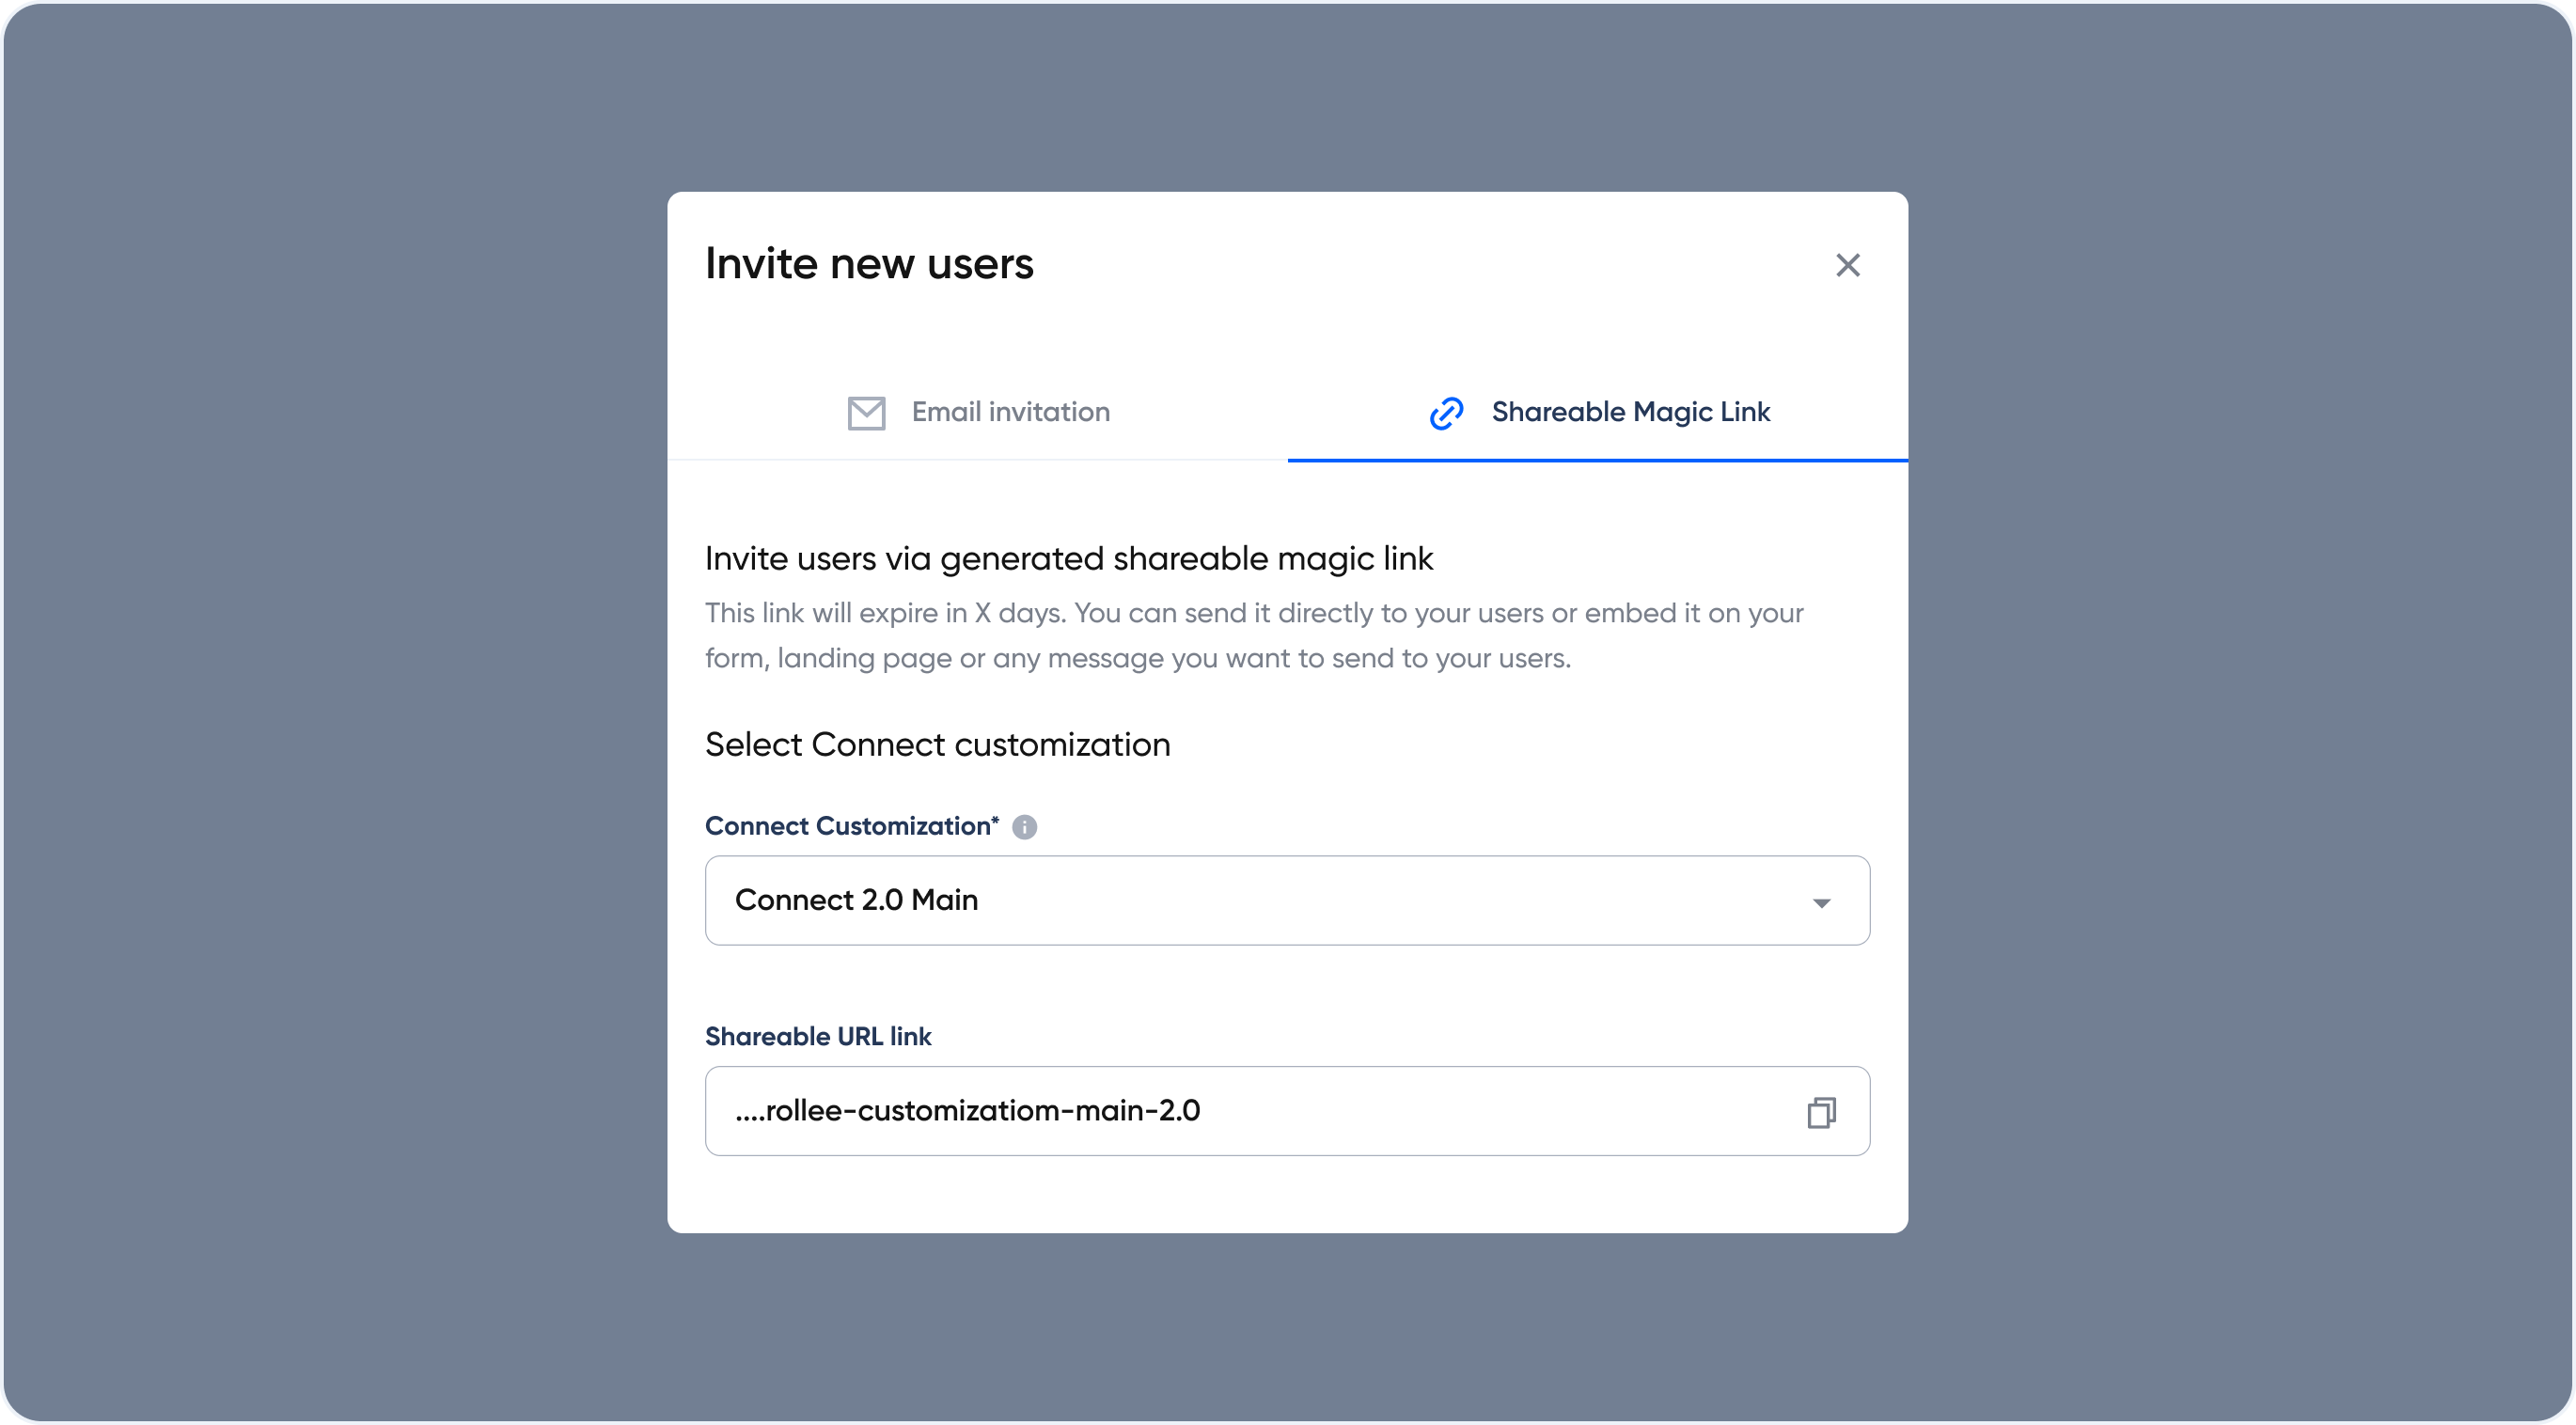
A magic link can also be generated to send to users to connect their accounts. Magic link generation will be available in the dashboard.
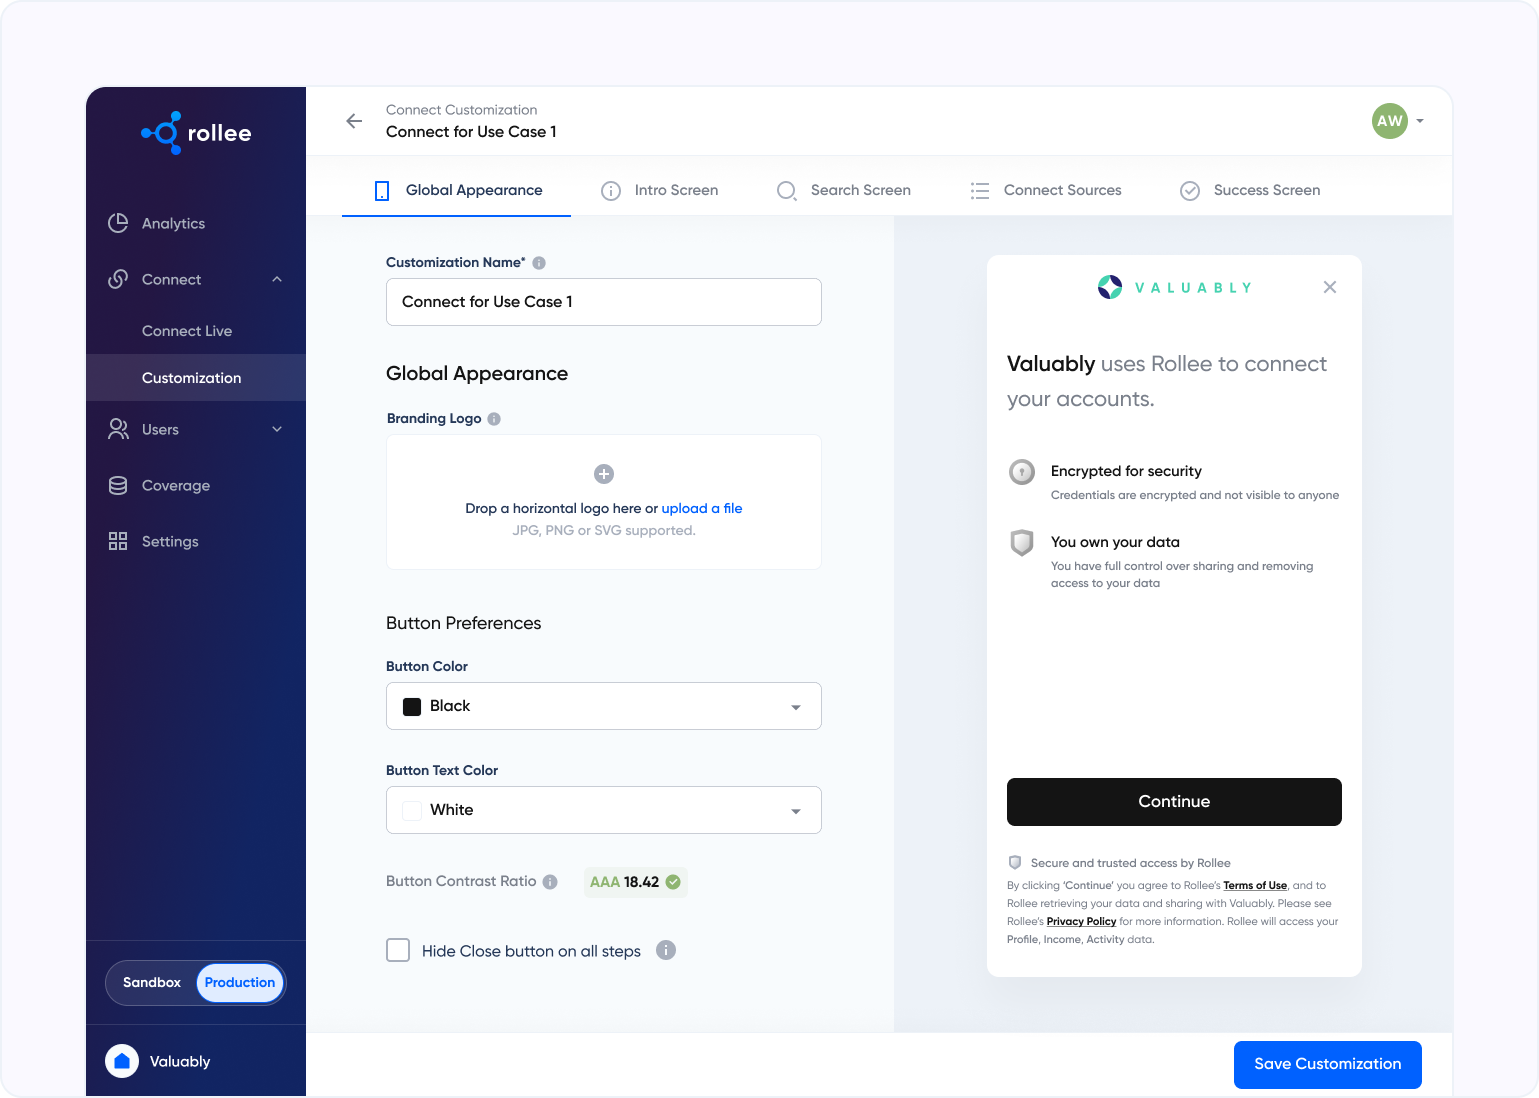
Customize Connect
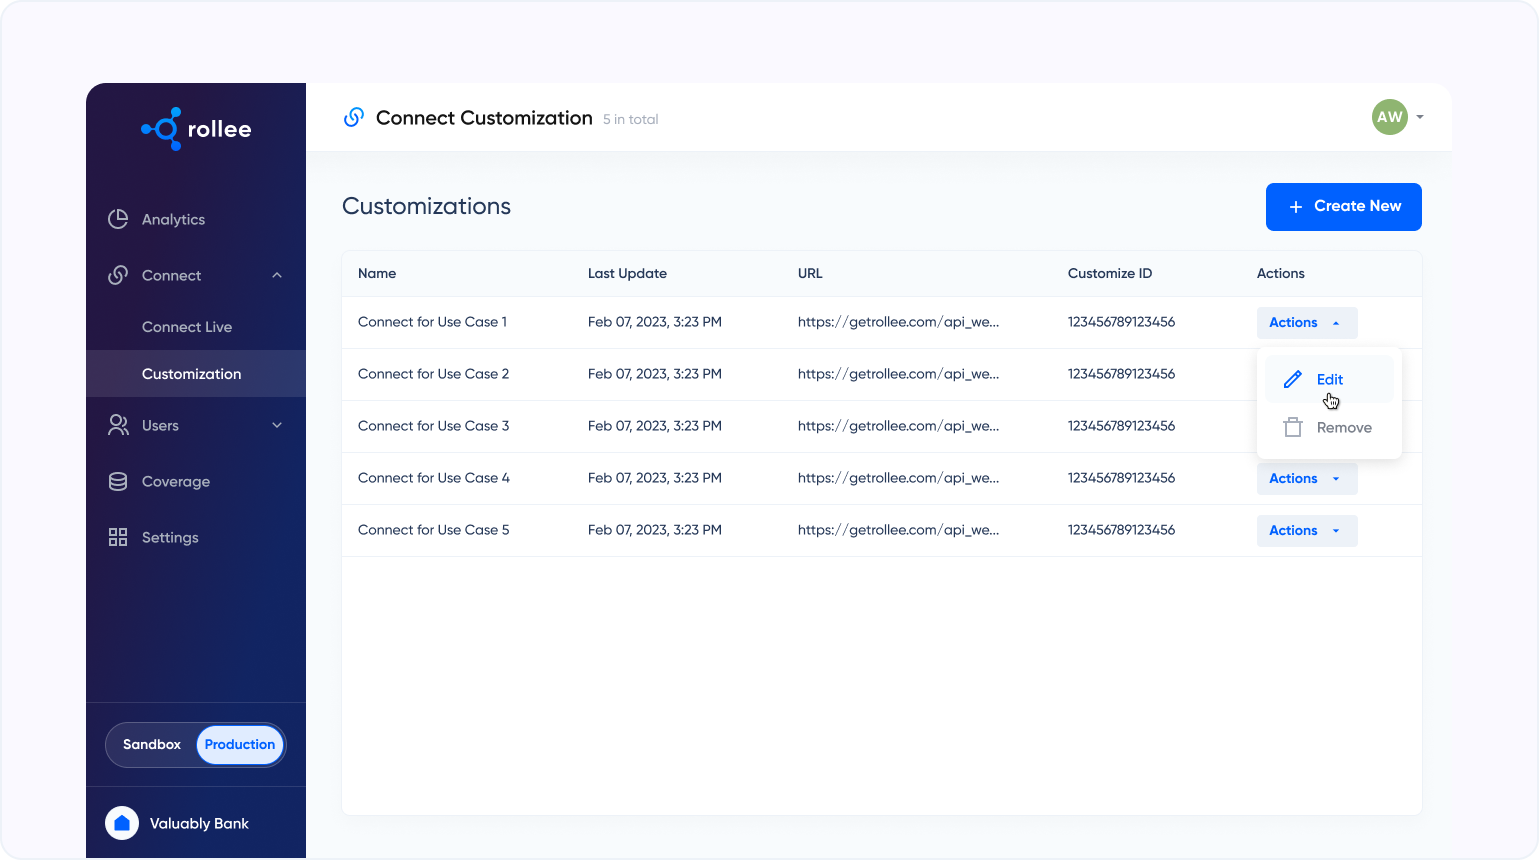
You can use the dashboard to customize each screen in the Connect flow. Create multiple customizations and use them in your SDKs or when you send invites through email. Shareable magic link customization is also supported.
Set up your dashboard data view
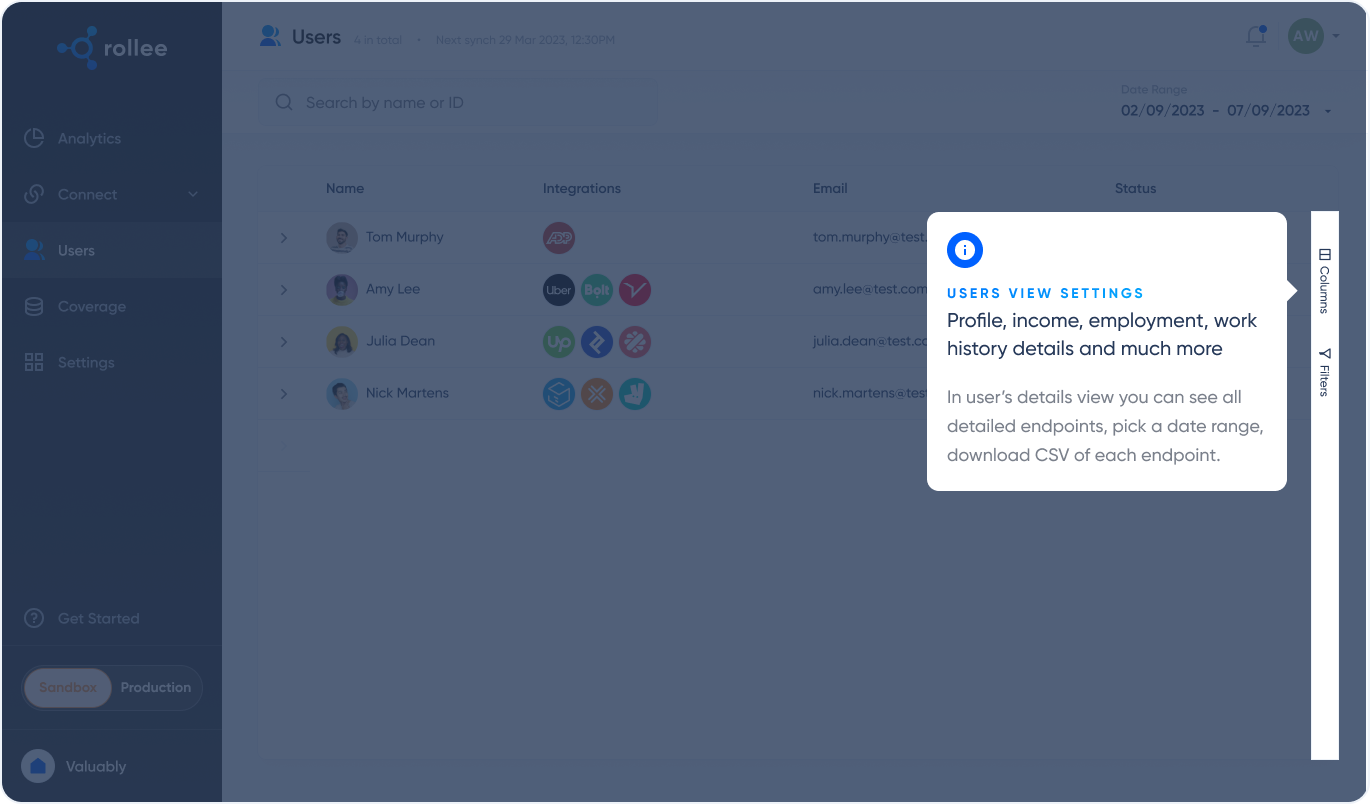
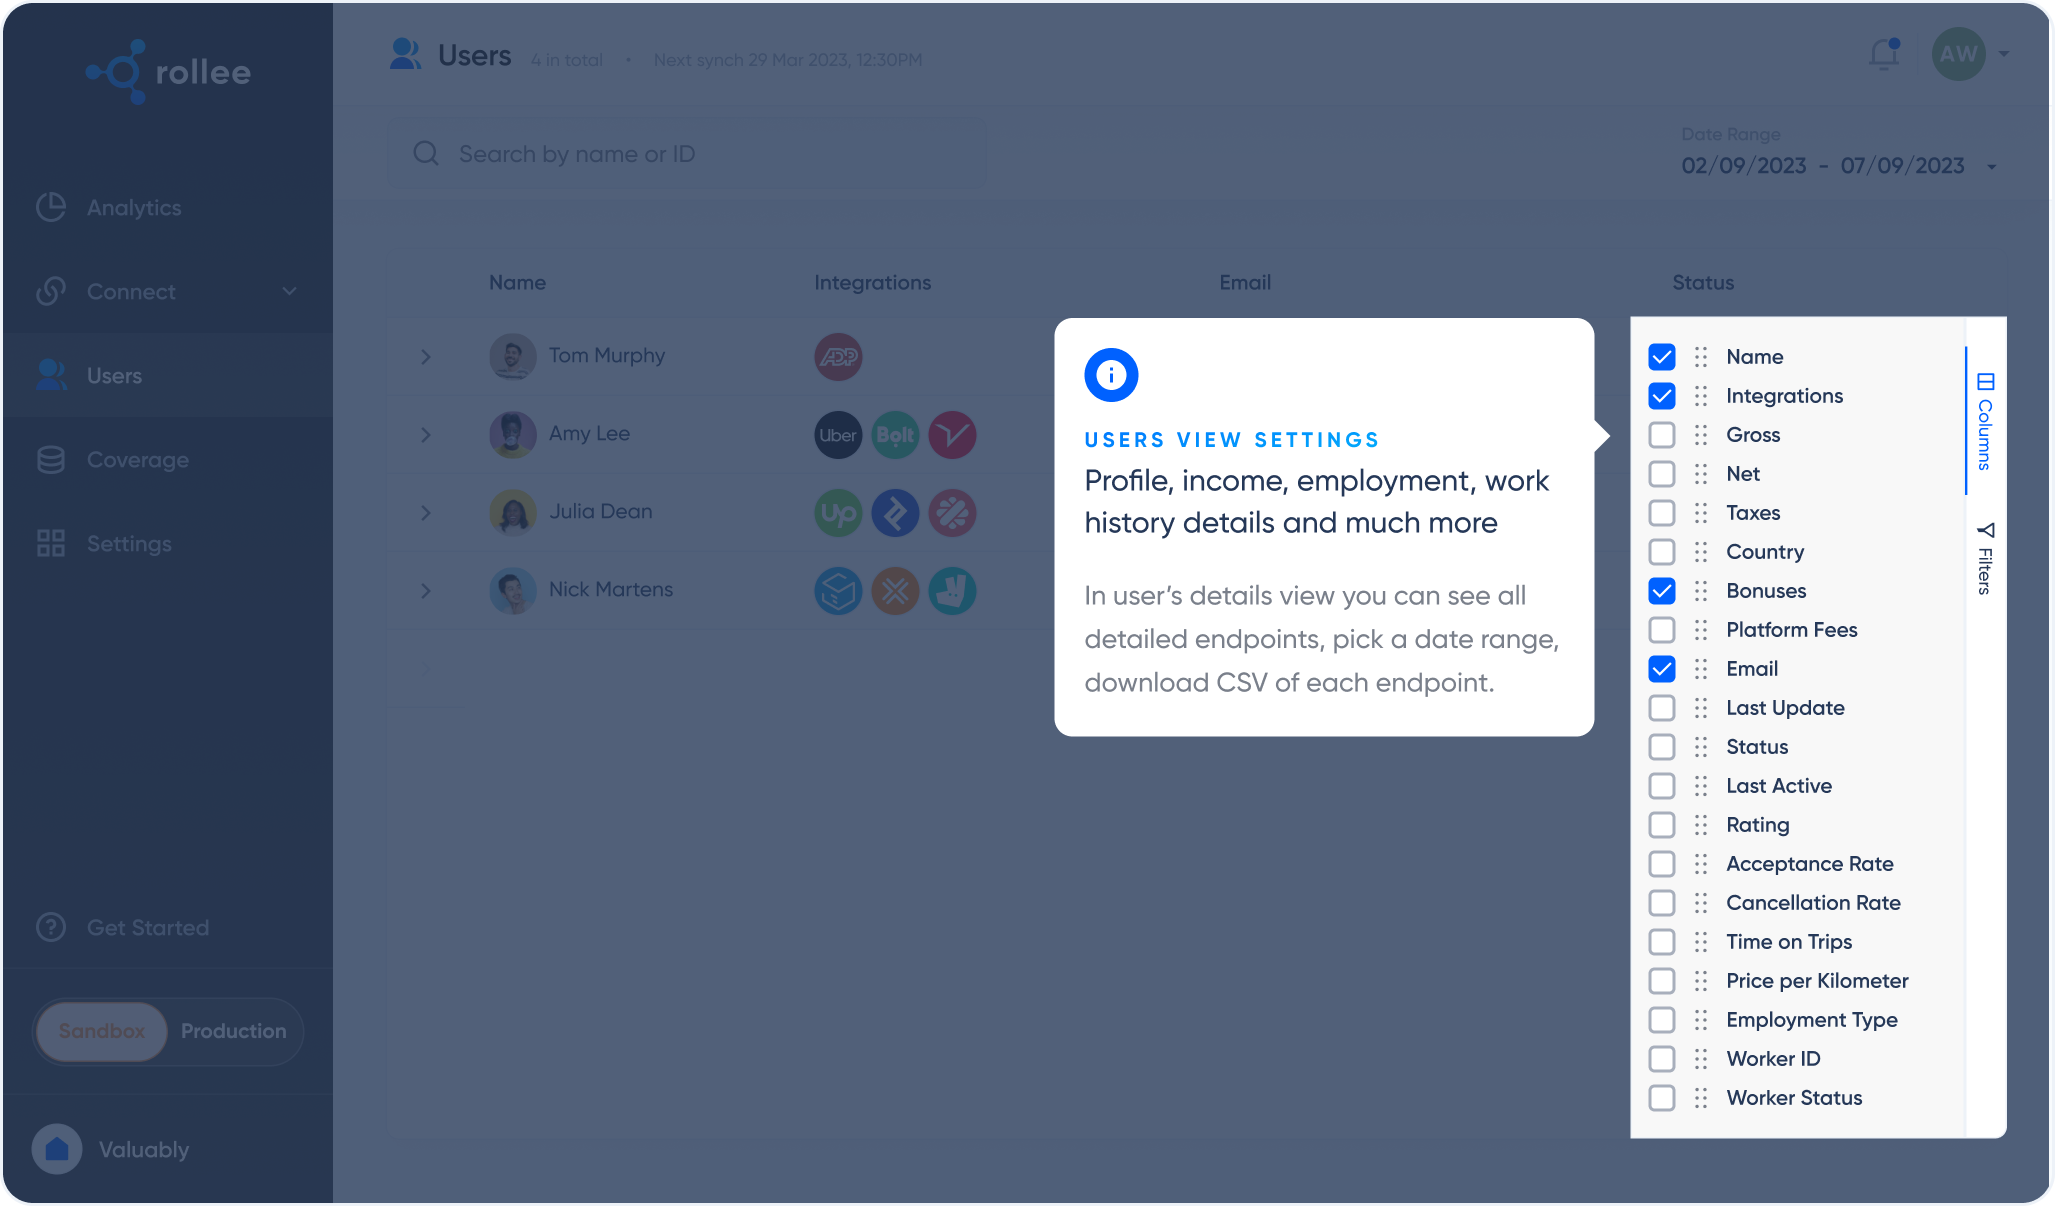
You can use our dashboard product to set up data views as you wish. This view is extremely flexible and most data points can be shown, sorted, and filtered, you can even add a custom column. As soon as the first data pull from a user is done, they will show up on this data view.
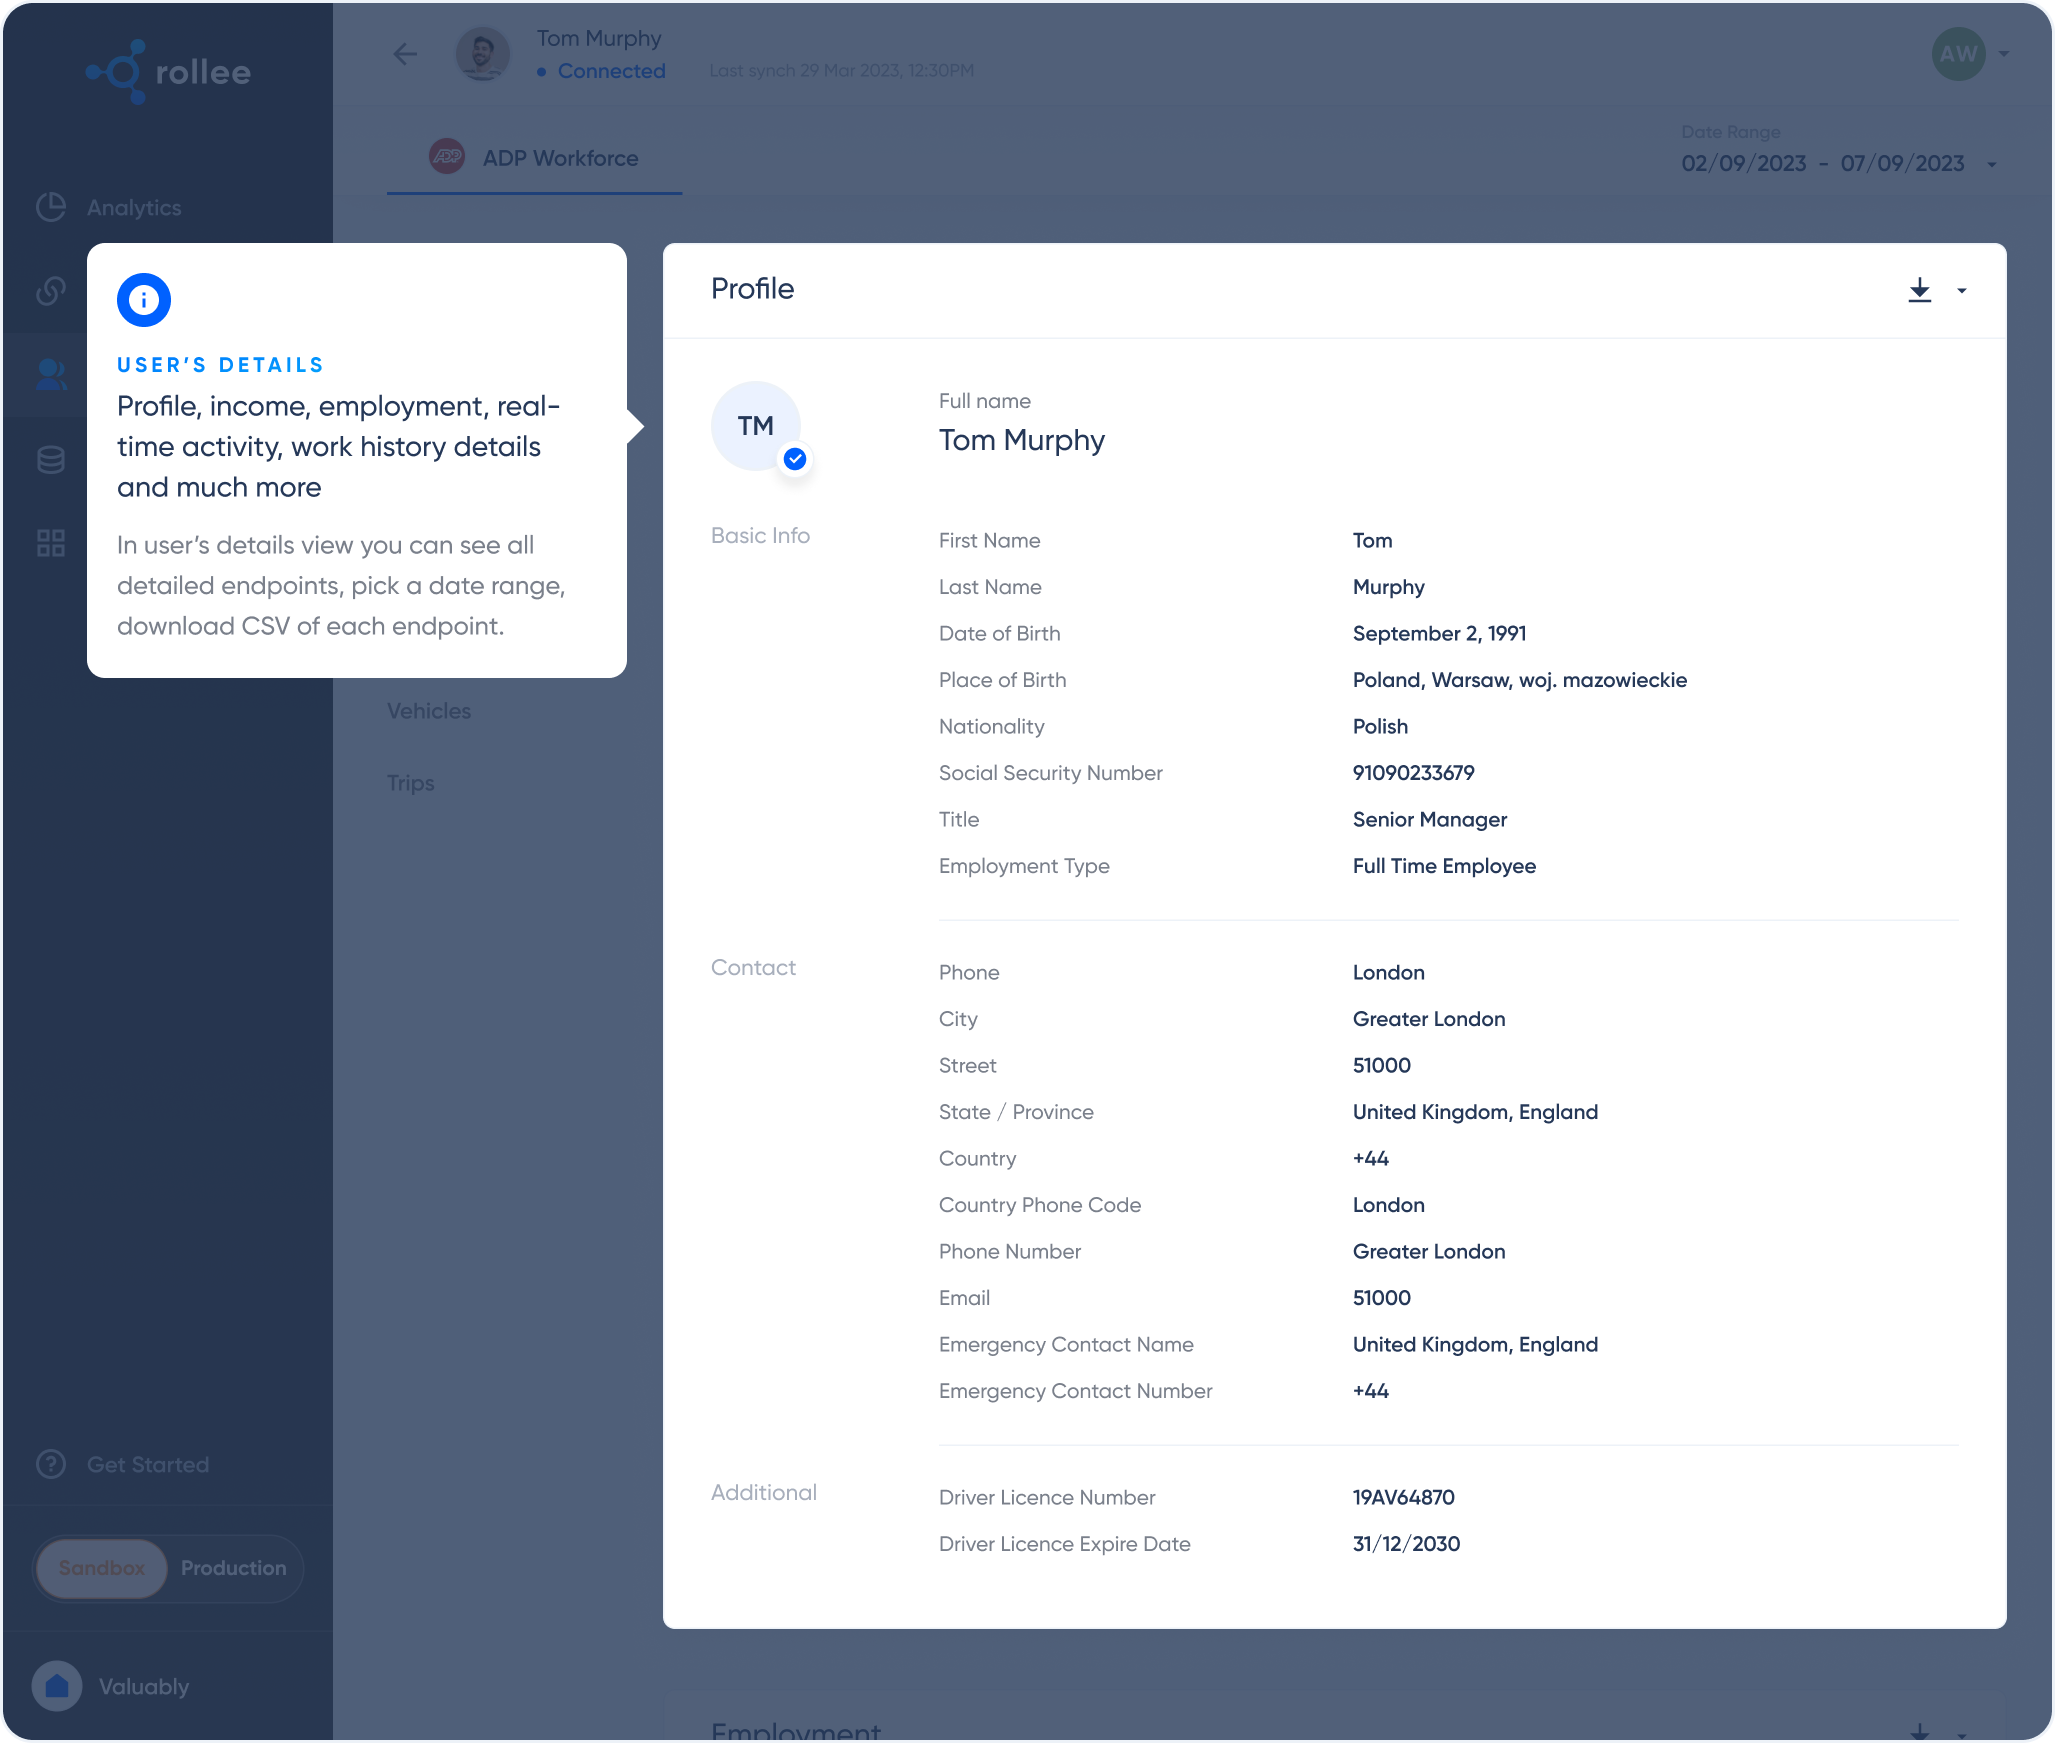
If you want a more granular view of a user, you can always click on the name and it will bring you to a detailed user view. Here you can see and download documents and every data point we have on the user will be visible.
Company API: Connect your administrators with Rollee Connect
Utilize our no-code dashboard product for enrolling your administrators. The initial stage in connecting accounts is sending out a Rollee Connect invitation to your administrators. You can do this entirely from the dashboard with no need for code.
Here's a set of instructions to begin:
- Send the link to your administrators so they can connect their accounts, you can do this in the Rollee dashboard
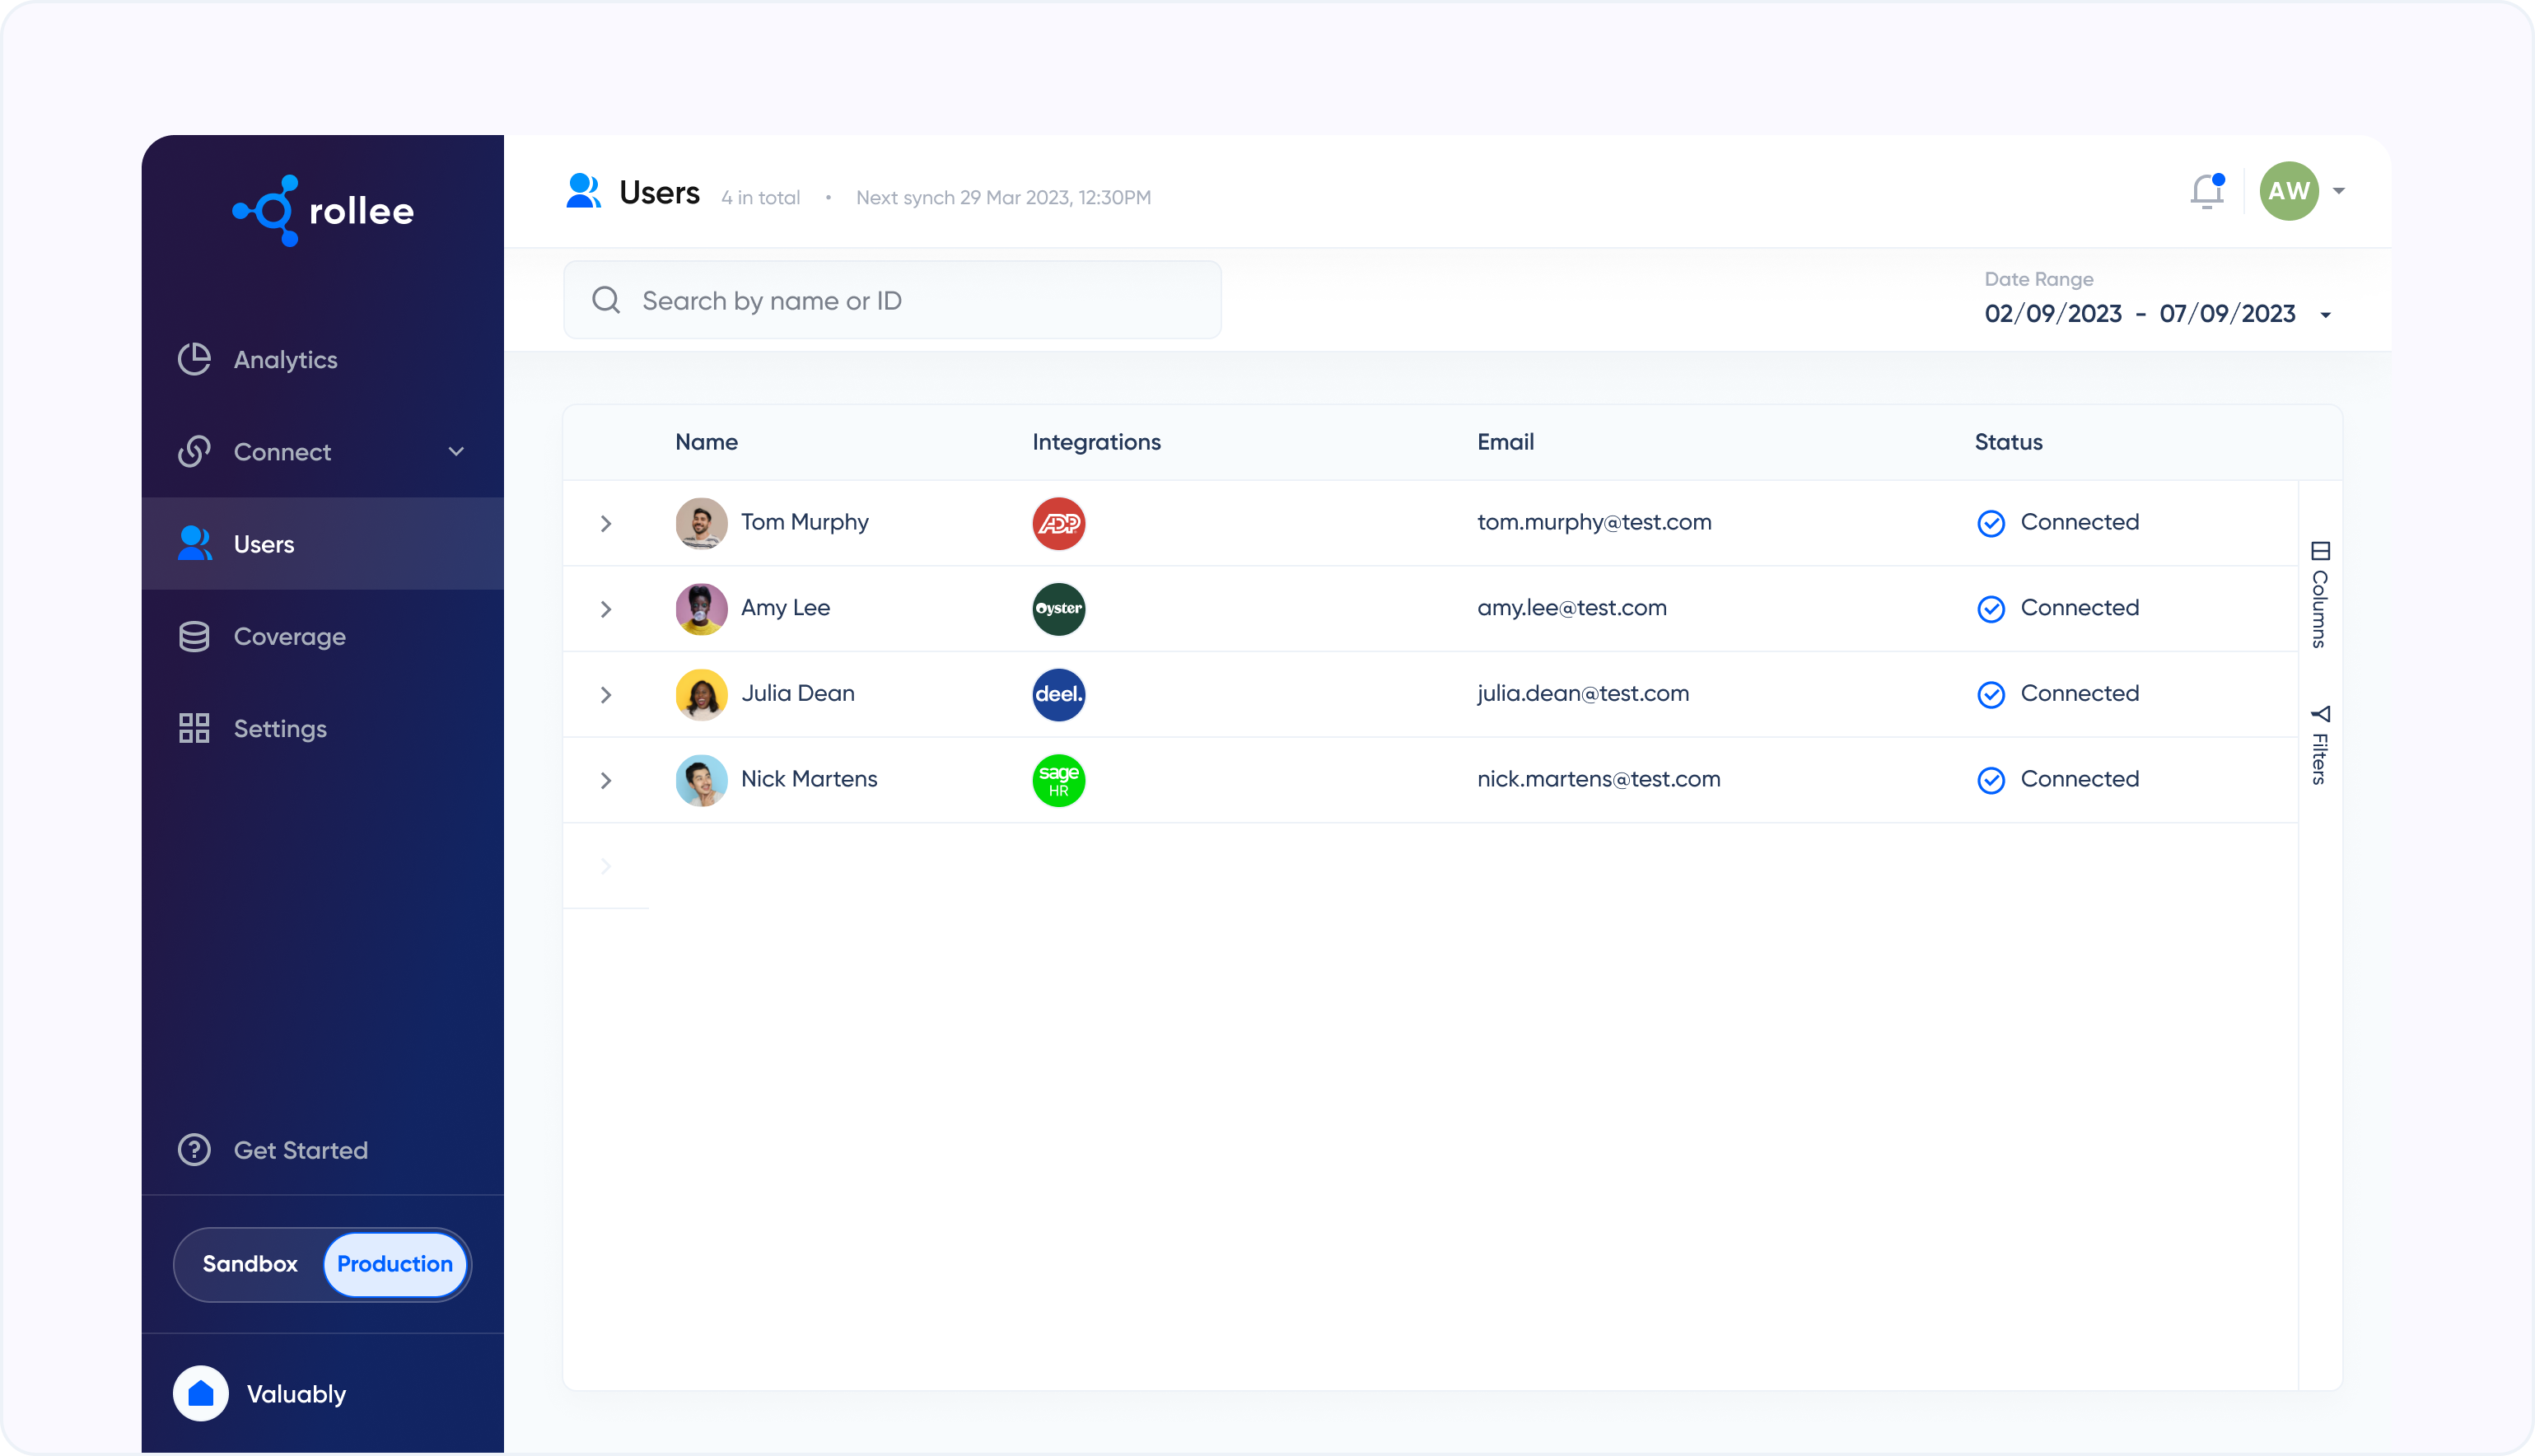
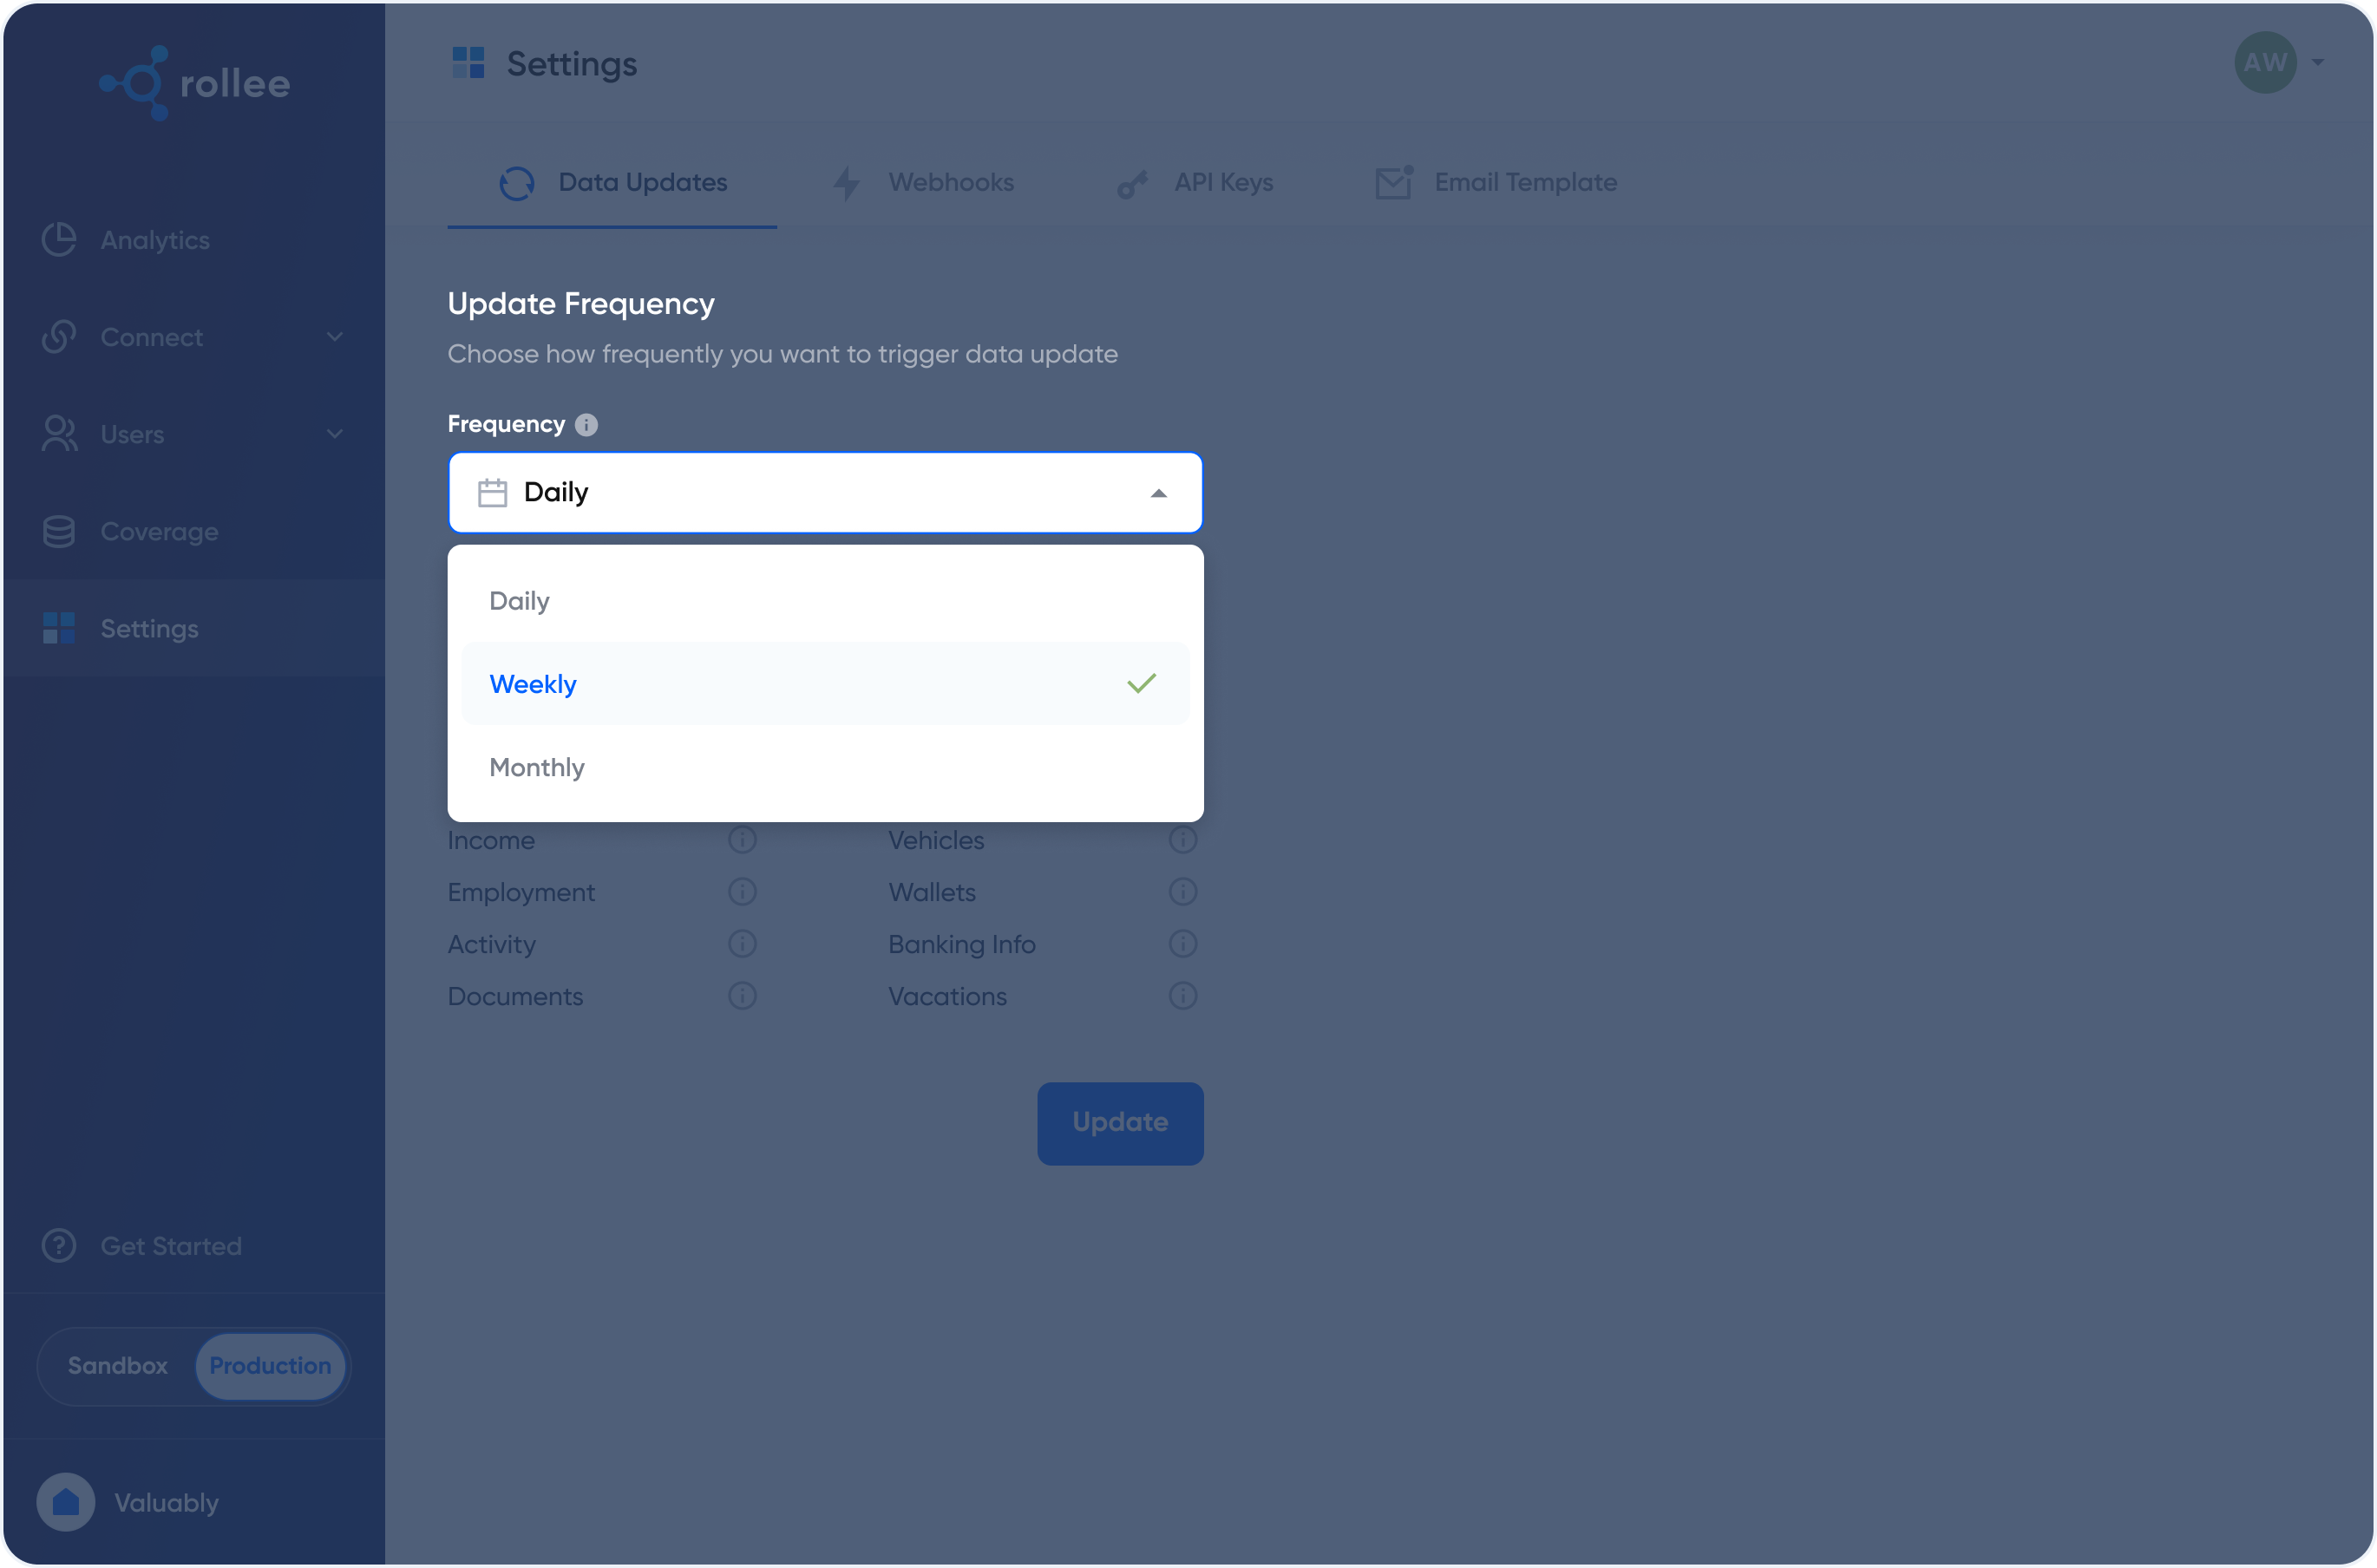
- Your data will show up in the User's view in the dashboard, you can also configure how often and which endpoints get updated in the settings
Send your invitation to Connect
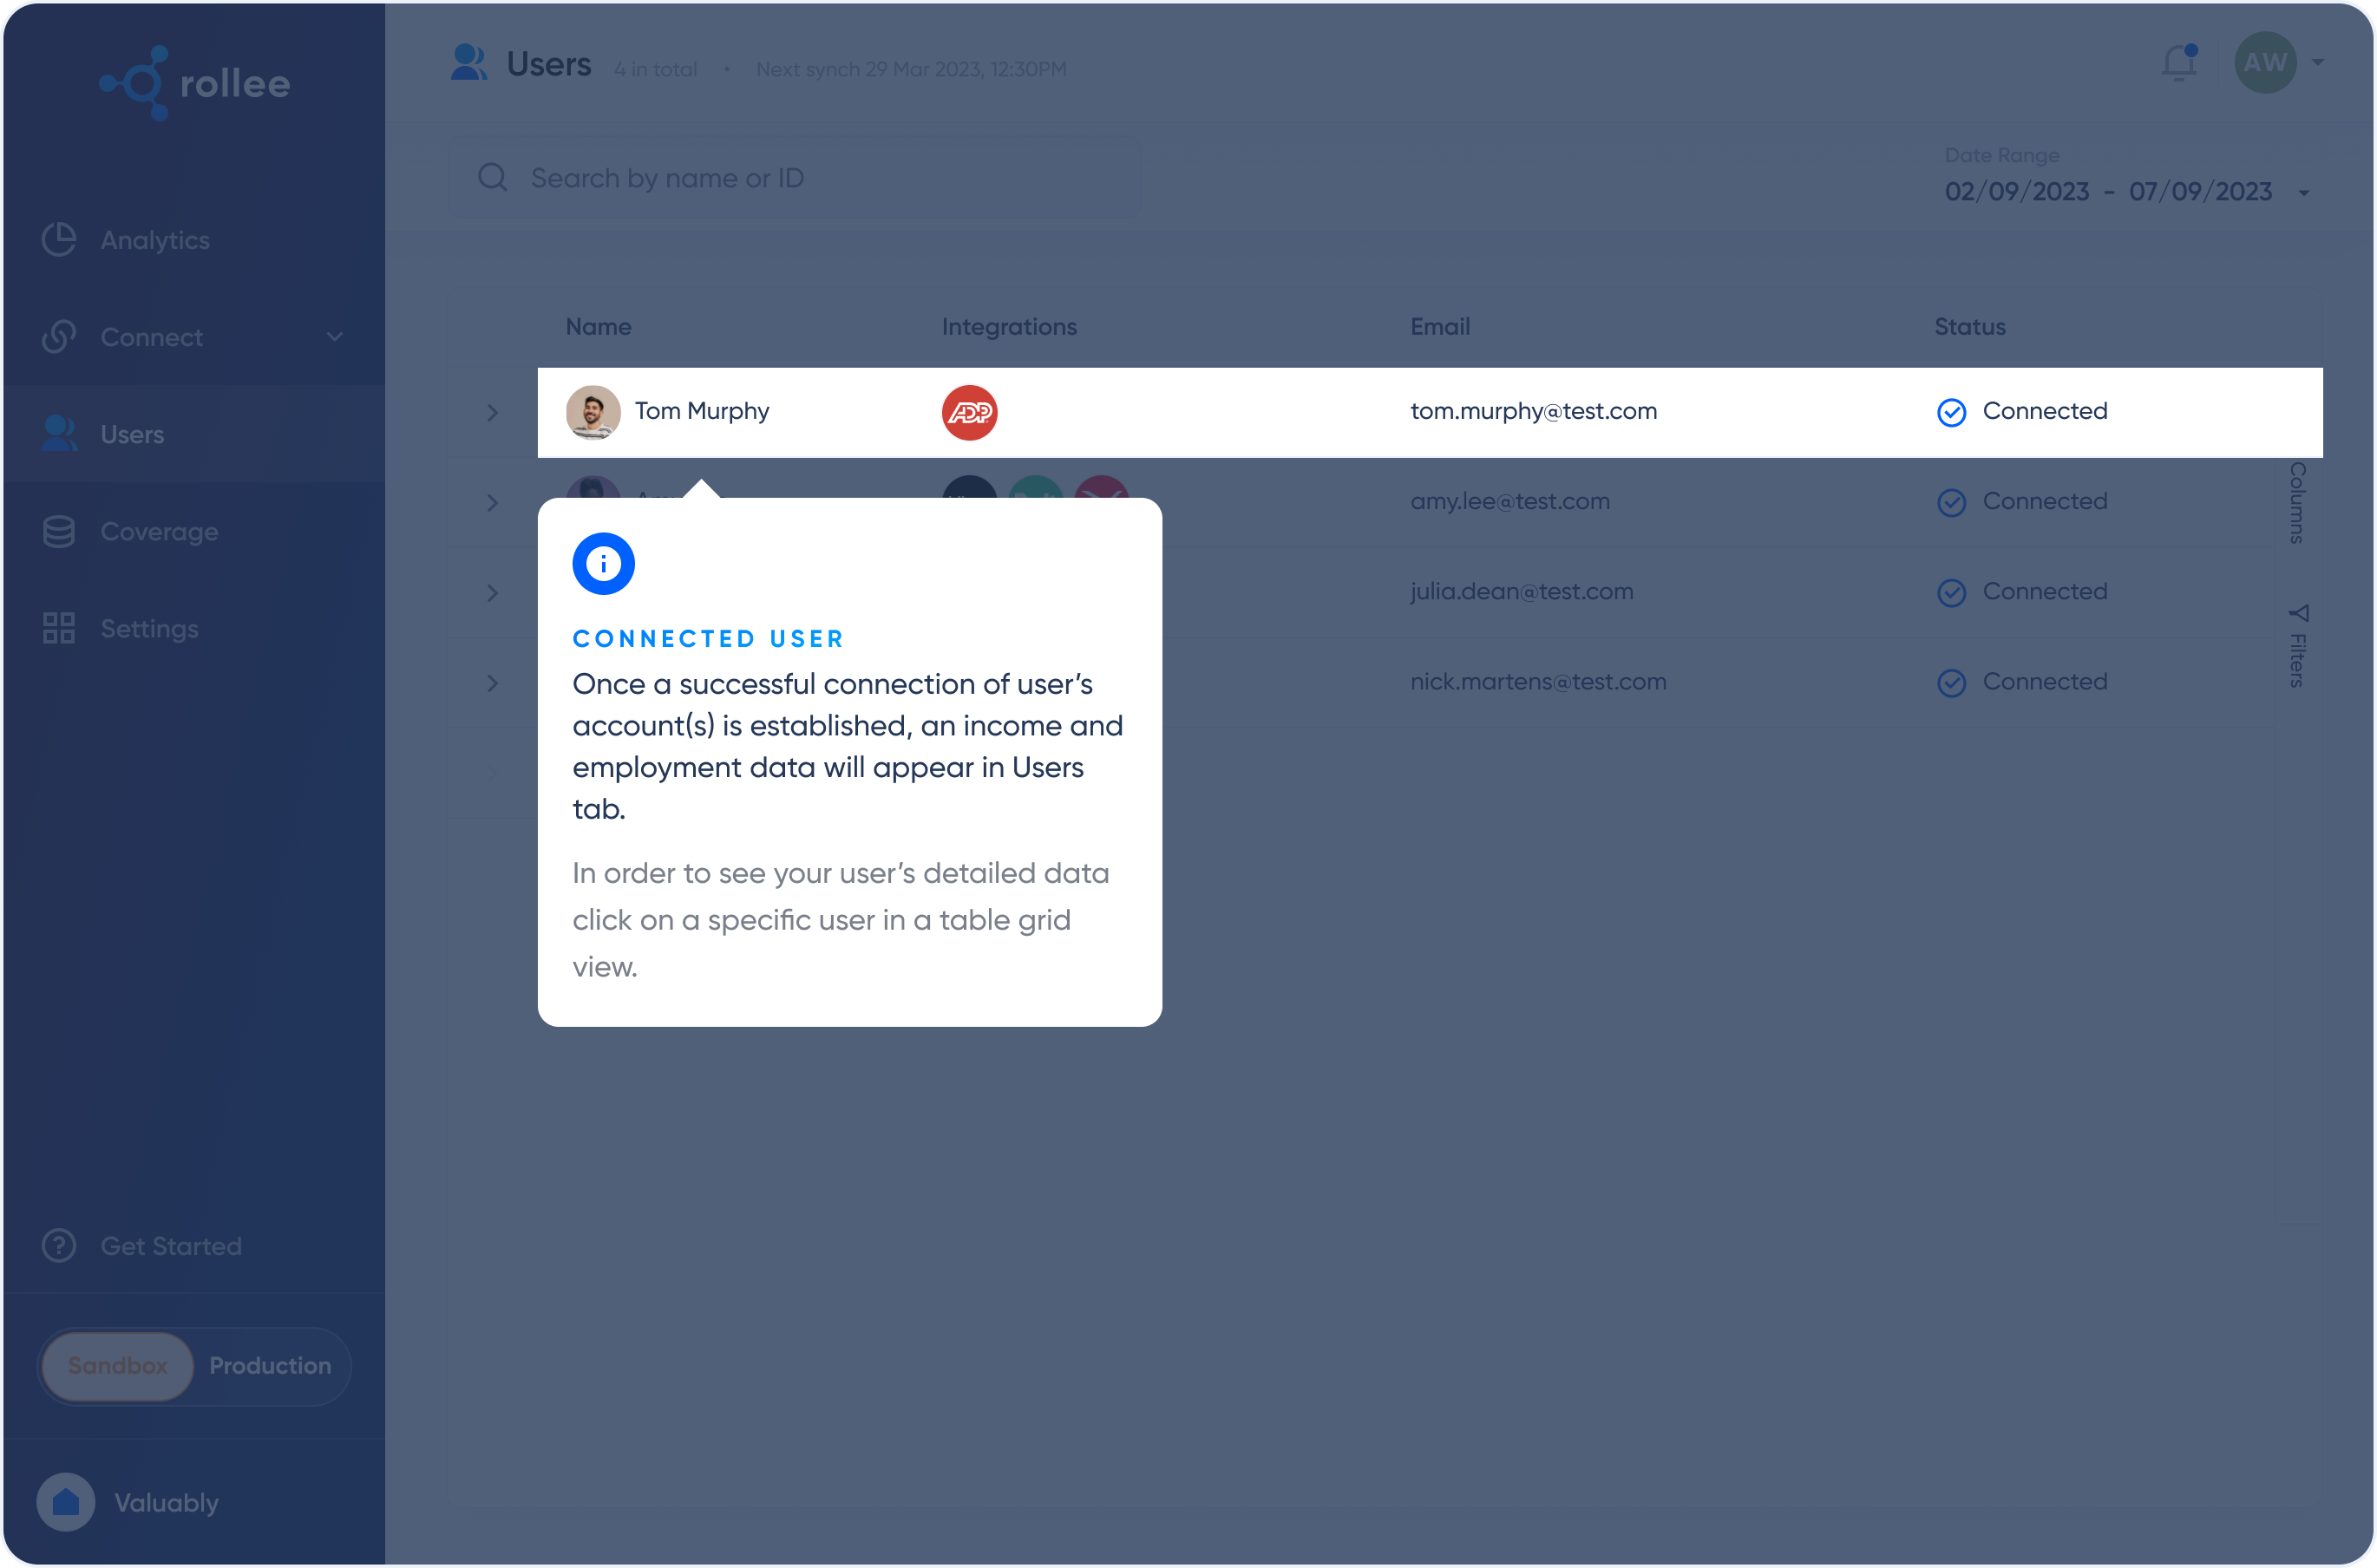
Through our dashboard, you can send an invitation to Connect to any email or to several emails at once using an Excel or CSV file. Once you've sent the email with the Connect link, the administrators can connect their HRIS or payroll platform. After the connection is done, you will be able to see all the connected users and the data of those users via the dashboard's users tab.
Access the data
You can access the data via the API and the dashboard. Go to the user's tab and click on any specific users to see their data. Alternatively, you can also look at accounts in our grid view. The grid view allows you to create additional data points for each user but also filter the results.
Set up your data preferences
In the settings you can set up the cadence at which you get your data; daily for example. You can also configure the amount of historical data you want to pull; 3 months for example. Next, you can select which endpoints you want to use and update; income for example.
Updated 11 days ago